POD is UP!!!!
Saturday, July 25, 2009
Today was an exciting day! With the help from some friends, our SkyShed POD was assembled. Set up took about 5 hours, not counting the time to move the various components from the garage down the hill to the observatory pad and then cleanup after the job was completed. Why so long? Everyone working on the POD today was a perfectionist! So, we took our time, got in each other’s way at times, and did some on-the-job learning as we went. We had a couple of glitches along the way, but we worked through them.
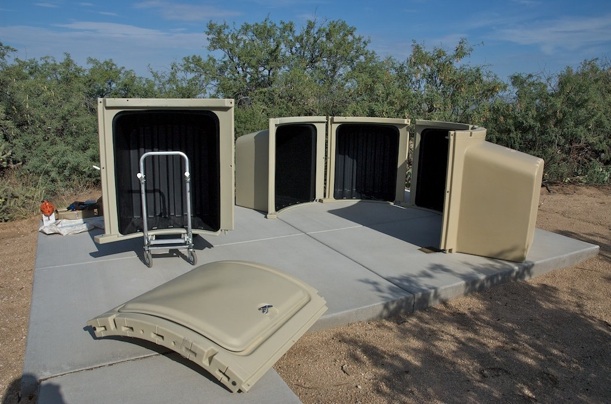
The day started with Mike beginning to move some of the POD components from the garage to the pad:
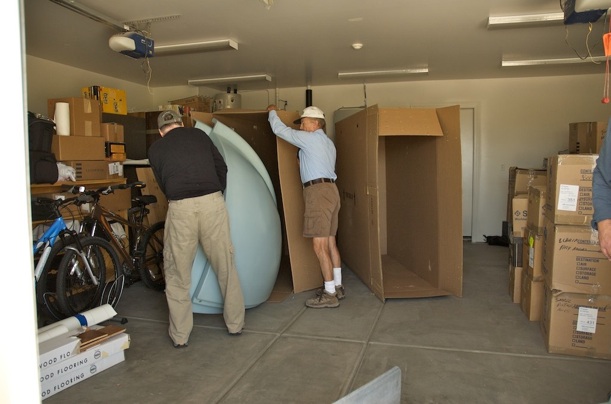
Then some friends arrived to help out:
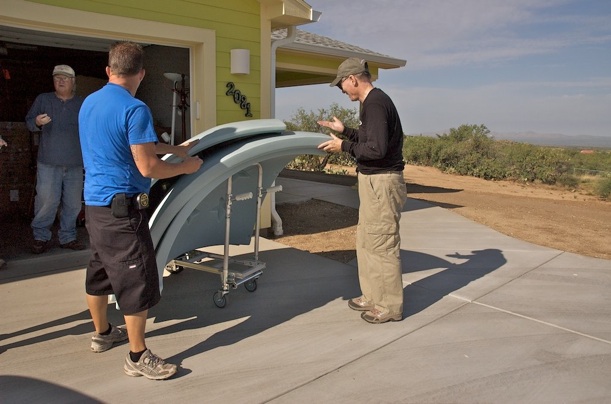
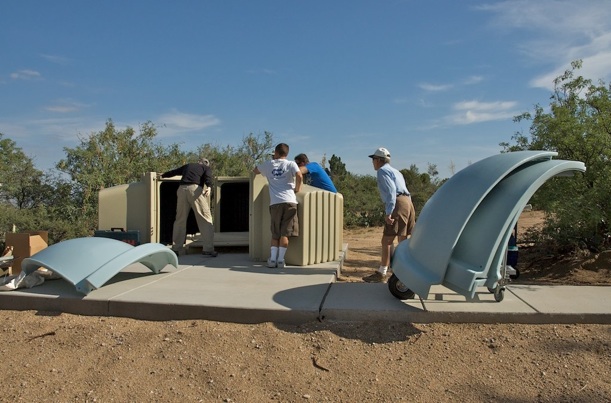
We set up the five POD bays in an initial configuration and then started to work on the dome sections. First, the foam strip was applied to one of the primary dome quadrants:
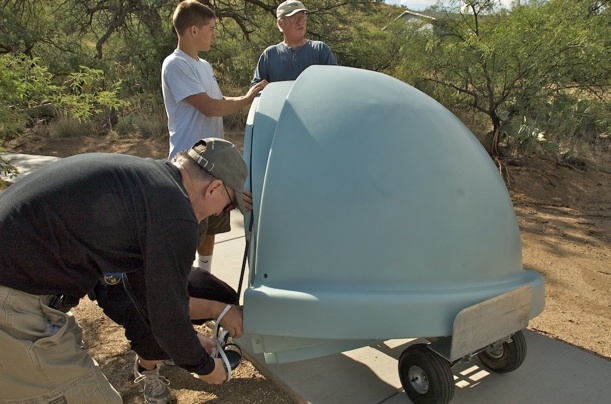
Then the two quadrants were joined (seen in the background):
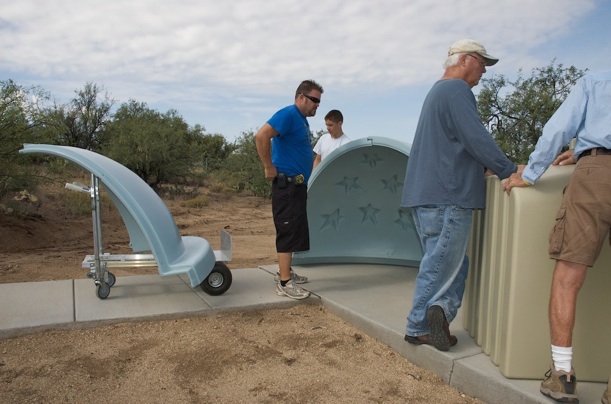
Now, where are those bolts?

Here you can see the primary dome quadrants joined and we are bolting them together:
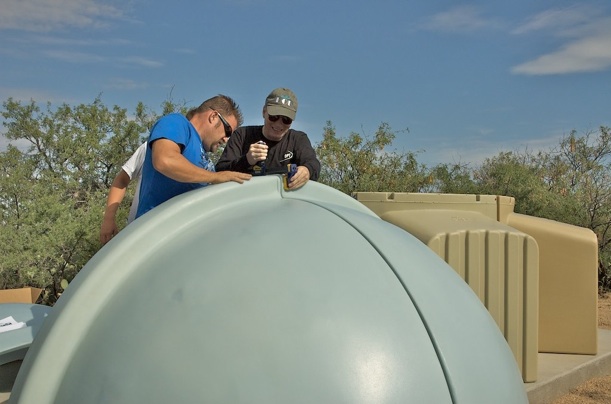
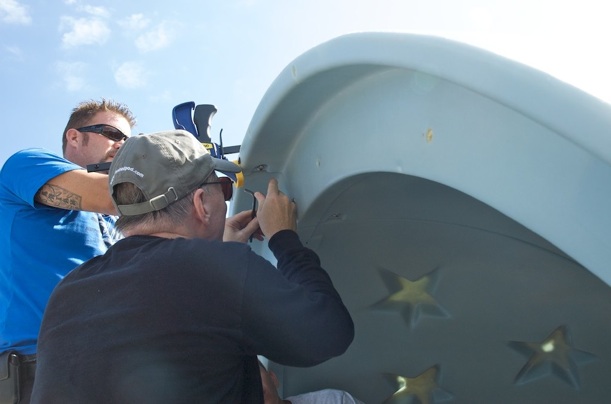
We repeated the steps on the secondary dome and then applied the sealant to where the quadrants join together.
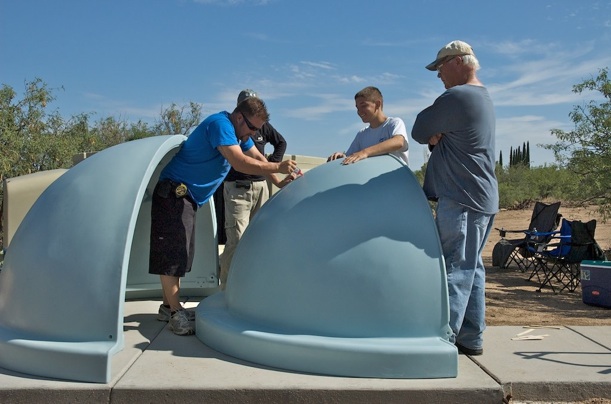
Then it was time to install the metal plates on the primary dome:
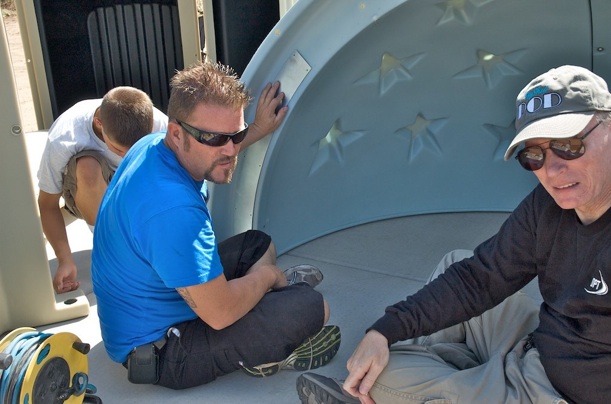
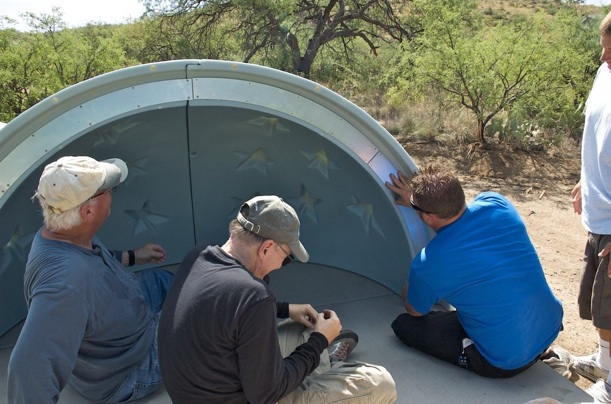
Next up was installation of the L-gasket:
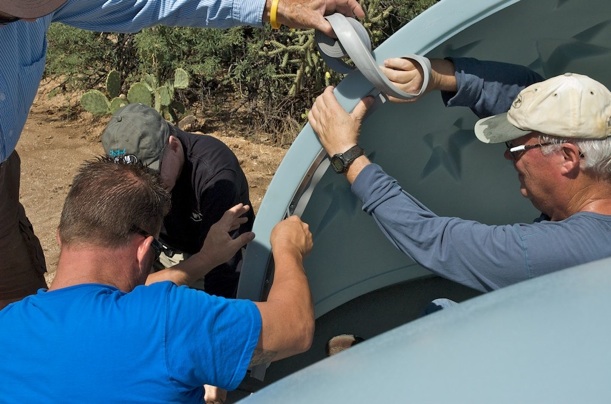
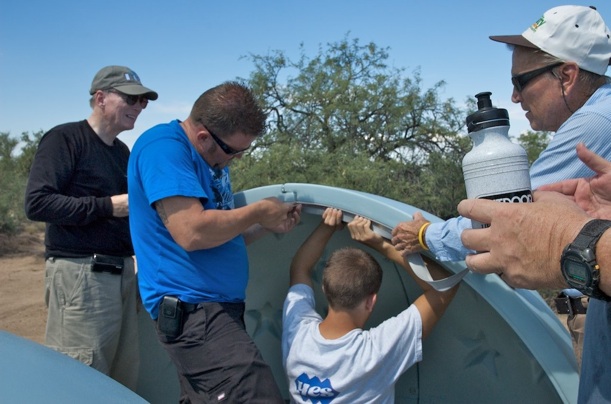
With the dome work done, it was time to put the bays together:
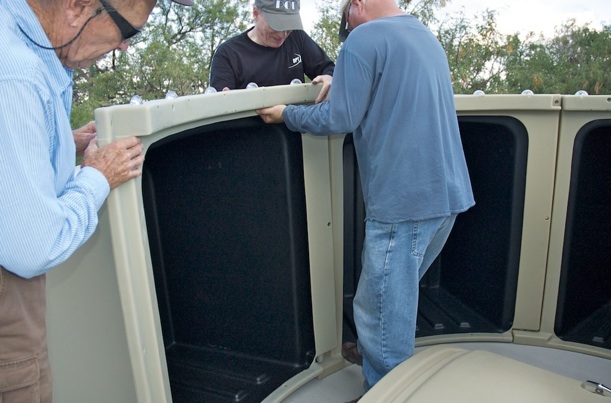
Initially, that went fairly well. So we installed the inline skate wheels on the top of the bays and door:
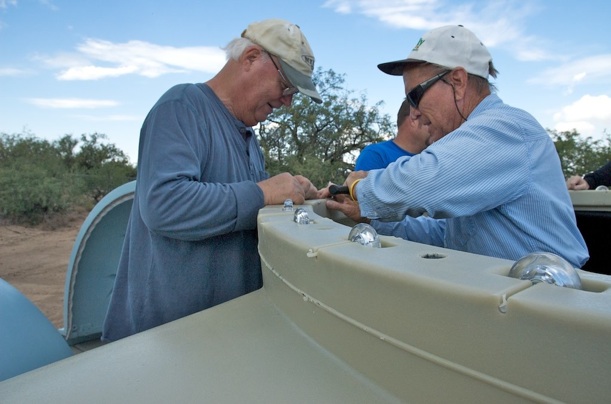
With the wheels installed, we checked that the tops of the bays and door were all at the same height. Unfortunately, there were some large differences (our first glitch). So we swapped some bays around until we got a configuration that had only a minor (1/4” inch) difference in the tops:
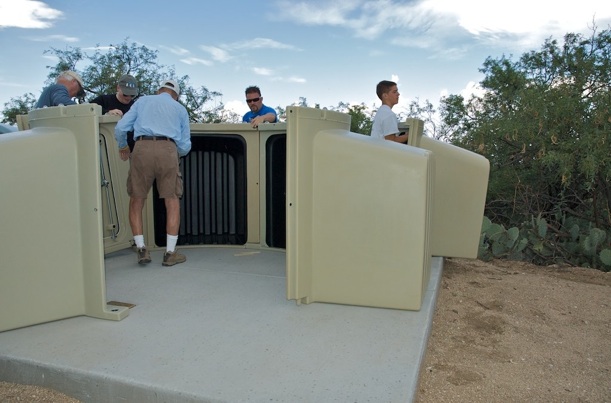
Fortunately, even the insulated bays are not too heavy! With the bays and door attached to each other, we checked the circularization of the walls. After lots of measuring and fussing (and kicking, per the video instructions) we finally got the walls circular. Then it was time for the primary dome to be mounted.
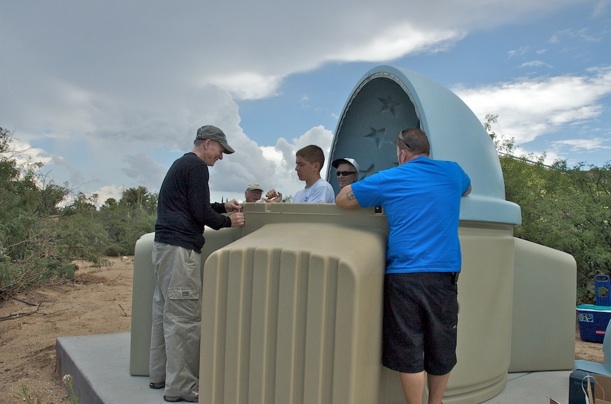
Everyone was quite excited to see it starting to look like an observatory! But, those clouds sure look ominous...
With the primary dome up, the dome brackets could be installed. We installed three of them, although five are provided if needed.
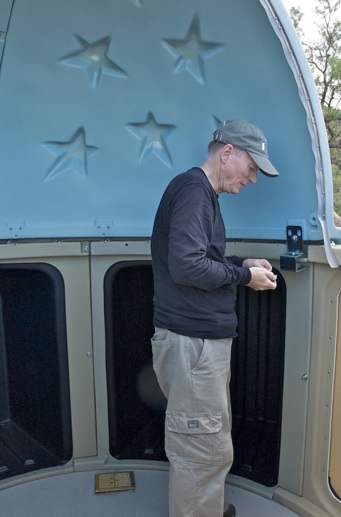
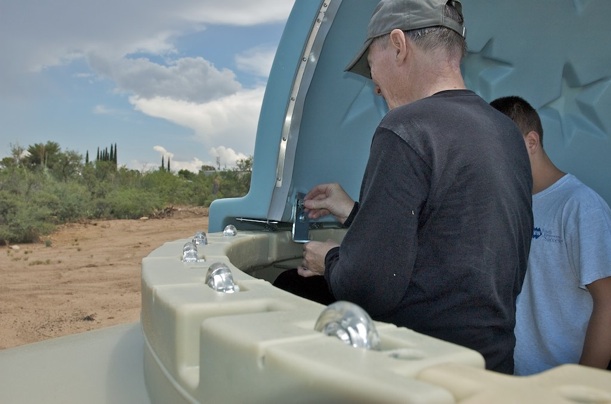
The secondary dome was then mounted. Mike sure looks like he is very happy!!!
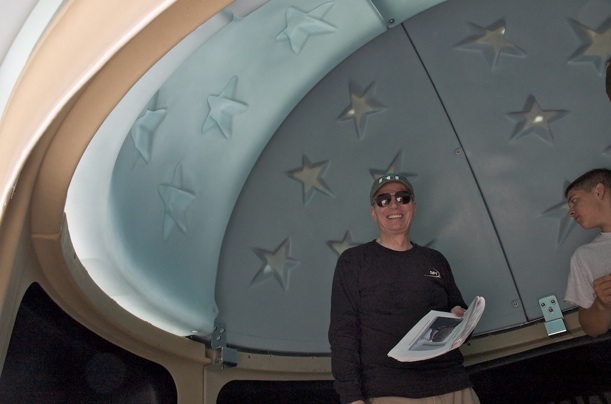
With the dome now done, we did some final work on the outside to ensure a good water runoff (from the rain):
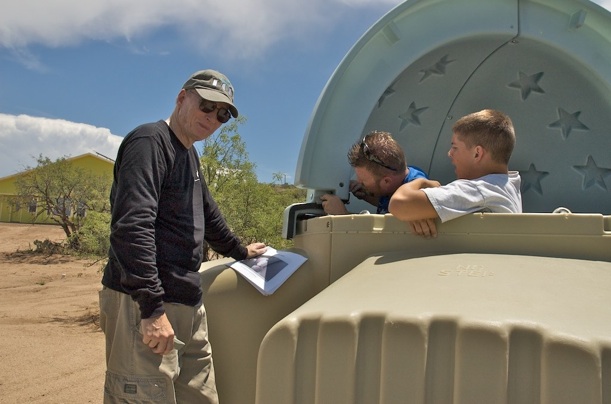
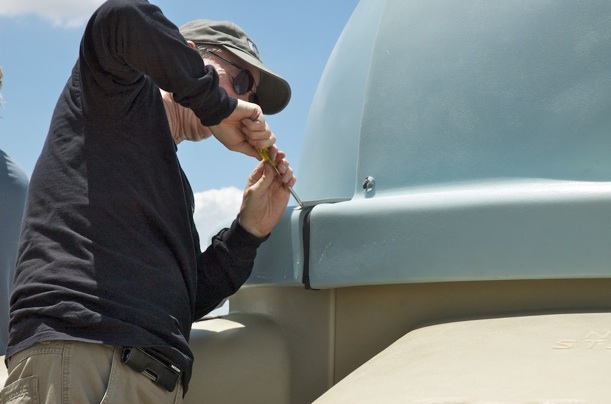
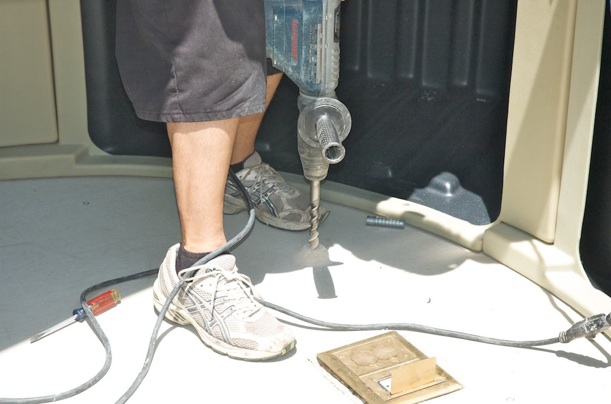
The POD is now completed!!! But there was one more step to be done today: secure the POD to the concrete pad. Holes were marked on the concrete for the lag bolts. We then shifted the POD over (four times) so that the holes could be drilled. We then had our second glitch: the four electrical outlets inside the POD were not working. Apparently, the GFCI had tripped from a recent storm and the outlets were still too wet. Now that the outlets are protected by the POD, hopefully they will dry out. Once a couple of long extension cords were run back to the house, we had power for the drill:
After the POD was shifted back into its original position the lag bolts were installed:
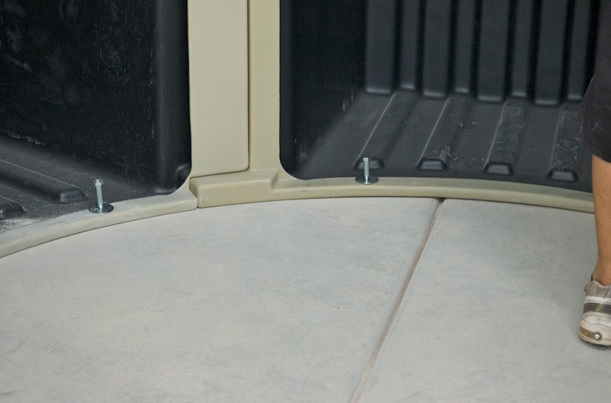
Some of the bolts ended up slightly too long. Mike will get shorter replacements on Monday.
Time for a group photo!
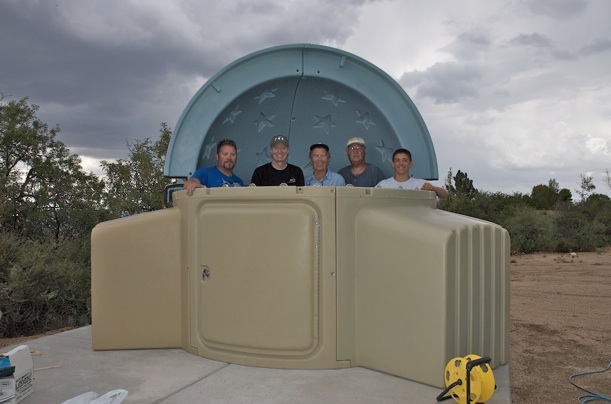
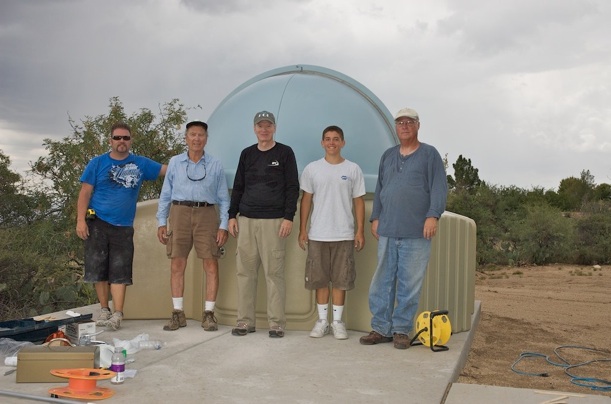
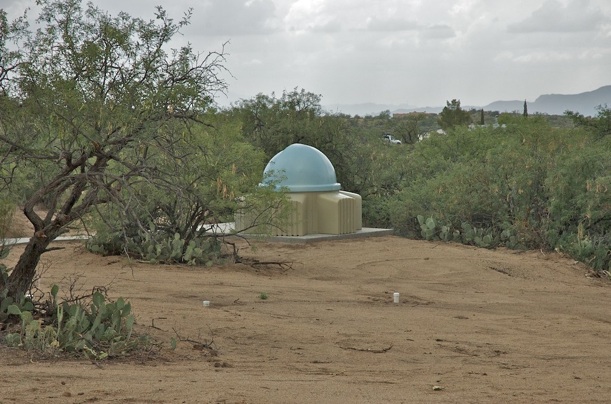
We then cleaned up the area and everyone went home. Of course, Mike & Laurraine only had to walk back up the hill to their new home! Here is a view of the GPOD XL5 from near our front door:
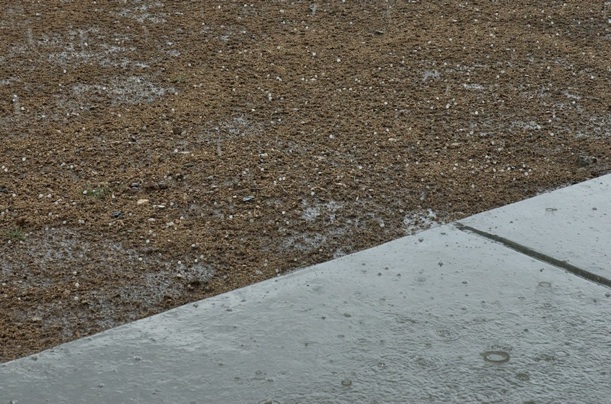
Shortly after everyone left, a monsoon thunderstorm hit, with heavy rain and small hail:
But this actually provided a good leak test for the POD! After it stopped raining, Mike went out to the POD and checked inside. There were four very minor leaks inside. Two were at the flange joins by the pivot points (both sides):
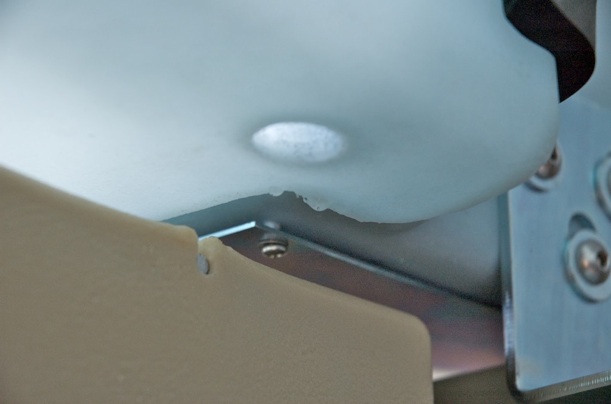
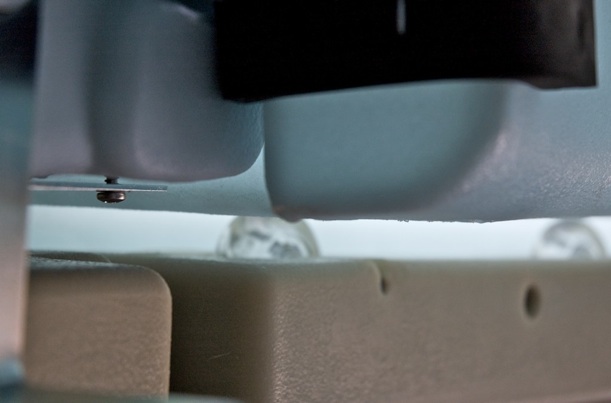
These should be easily fixed by applying some sealant on the outside on the foam pieces:
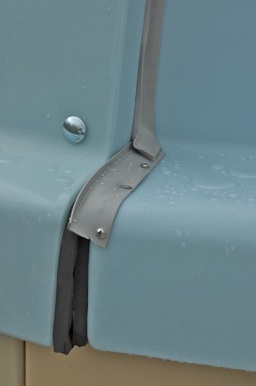
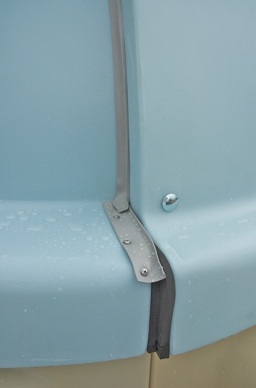
The third leak was from the primary dome quadrants join:
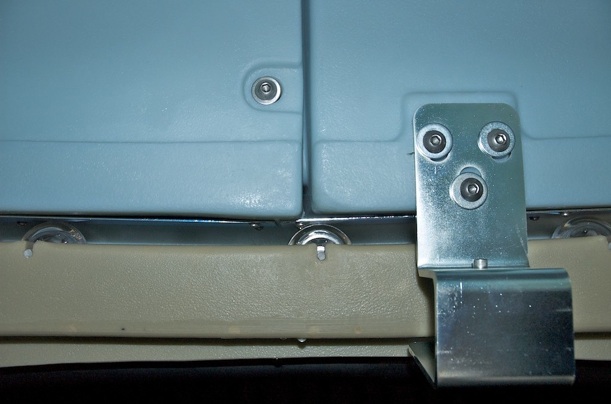
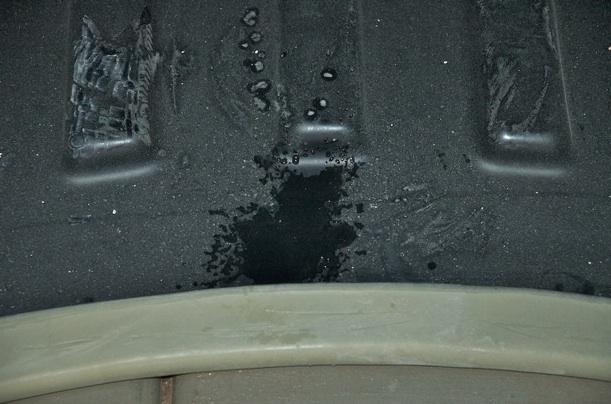
The seal on the outside seems fine so applying sealant on the inside of the dome will probably fix that leak.
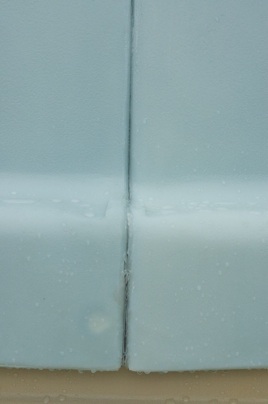
The last leak was a surprise. It seemed to be at the top of the door and dripping water down into the inside of the door panel:
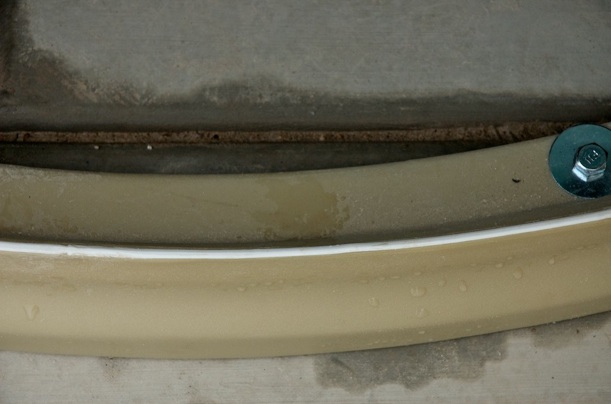
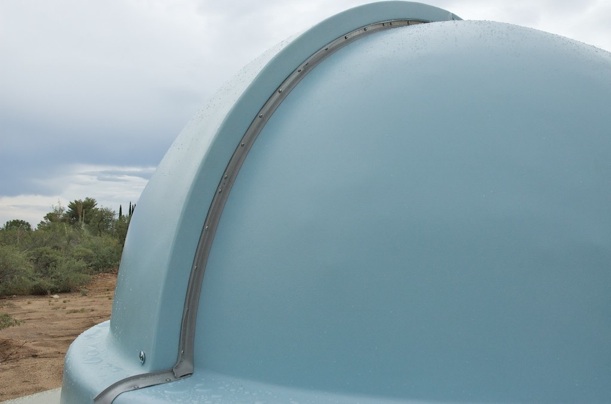
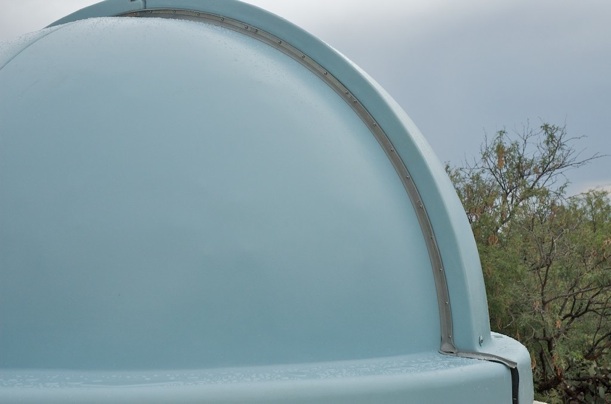
The good news is that the L-gasket seal between the primary and secondary domes seems to have worked great!
Thanks to David, his son Dillon, our neighbor Bob, and Jim (another amateur astronomer in Oracle!) for helping out today. Their assistance was greatly appreciated. Many thanks to Wayne and Lorelei Parker and the entire SkyShed POD Team. Wayne even called today from Canada while Mike was installing the first of the dome brackets just to see how things were going! And a very special thanks goes to Laurraine, who not only took all the photos today, but she approved the POD purchase in the first place so that Mike could finally have his permanent observatory!
But we are not yet done. The outdoor carpet will be installed next. And then the equipment will be moved to the POD. Once we get “first light”, we’ll declare the observatory operational!
