Last updated: 28 February 2010
|
Last updated: 28 February 2010 |
Subject:	ETX90 PE Customized Green Laser
Sent:	Friday, February 26, 2010 20:17:38
From:	J (veyonyx@gmail.com)
First off, thank you for the site!  I found your site after purchasing
my ETX90 PE and it made me realize that I made the right decision.  Keep
up the good work.

I decided that I wanted a green laser pointer on my scope (more to
entertain friends and show them what we were looking at than actually
guiding the scope).  However, I didn't want to buy the standard laser
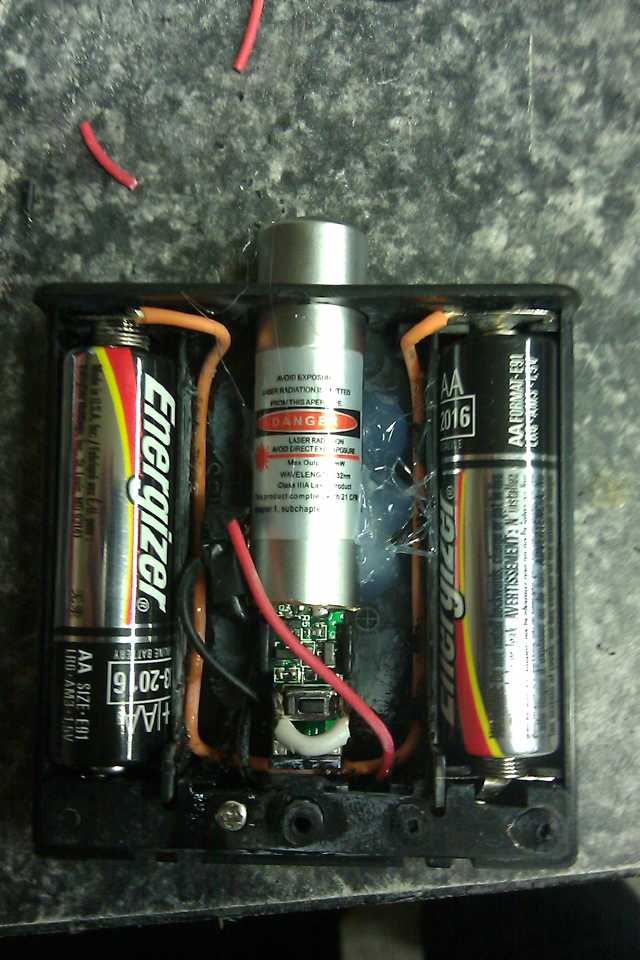
mount and came up with this idea.  I began with a 4X AA battery holder
with an on/off switch, a satellite radio vehicle mount, a sheet of ABS
plastic, and a green 5mW laser.

First I cut out all of the excess plastic partitions from the battery
holder.  Then I removed the battery terminals, cut them in half,
positioned them appropriately (in series) and soldered and routed the
wires.  Because of the length of the laser assembly, I drilled a hole
for the laser tip to pass through.

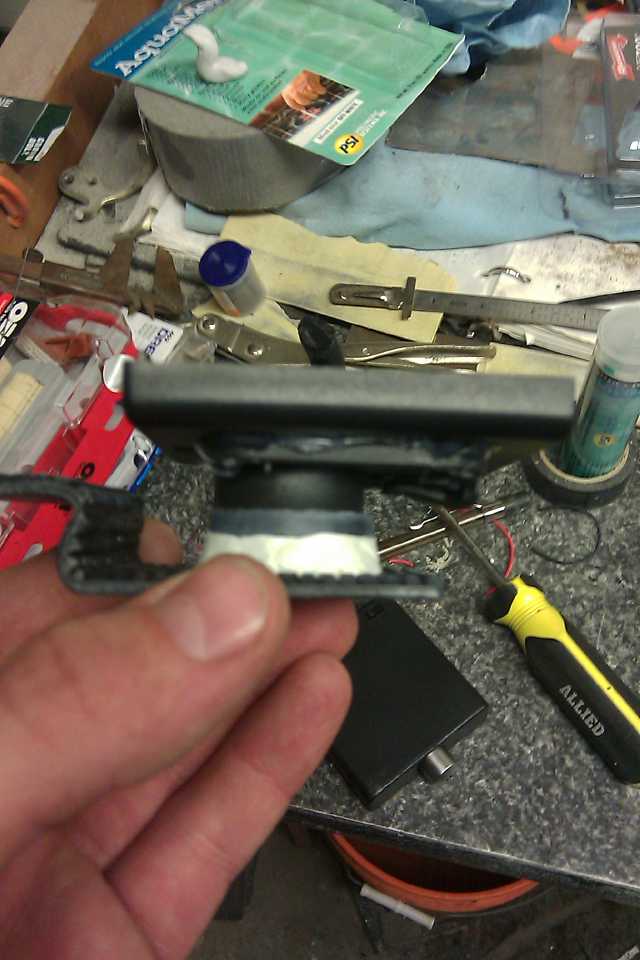
The ABS I cut to the width of the bottom mounting plate on the ETX, and
the length that I wanted.  Using a heat gun, a vice, and a small board,
I formed it into the dog-leg mold to accommodate the shape of the
telescope.  Finally I drilled a 1/4 inch (about 25mm) to attach it to
the preexisting anchor holes.

As for the laser pointer, I used a hack saw to cut through the outer
casing of the laser about 1/4 inch above the button, being careful not
to penetrate into the diode/optical chambers.  I then removed the
negative spring terminal by melting the solder.  The small tactile
switch was too small to remove, so I bypassed it with a small jumper
connecting the two side terminals.  Be VERY careful not to allow solder
to flow onto any neighboring circuits.

I then put the pieces together and soldered on the power leads.
Negative goes to where the spring was, again being delicate as not to
short out another circuit with the solder.  As for the positive lead,
The case itself provides the circuit pathway, so I scuffed a small
section along the side with a file and made a firm solder joint directly
to the brass casing.  Make sure you have a solder with a good rosin core
to make a proper connection.

Assemble the unit and secure the laser.  I used hot glue which worked
great since it would have been difficult to clamp.

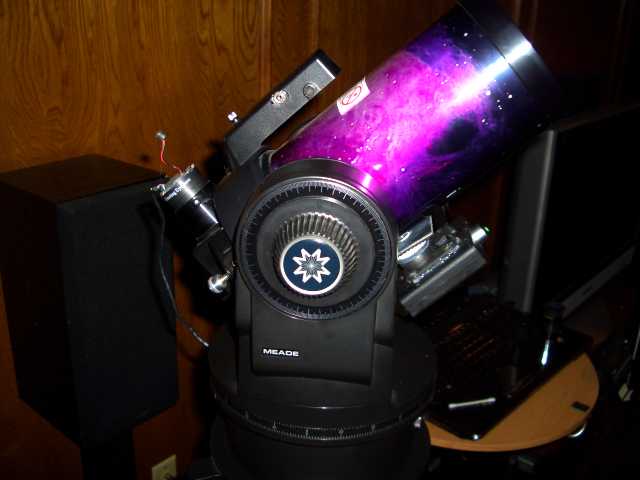
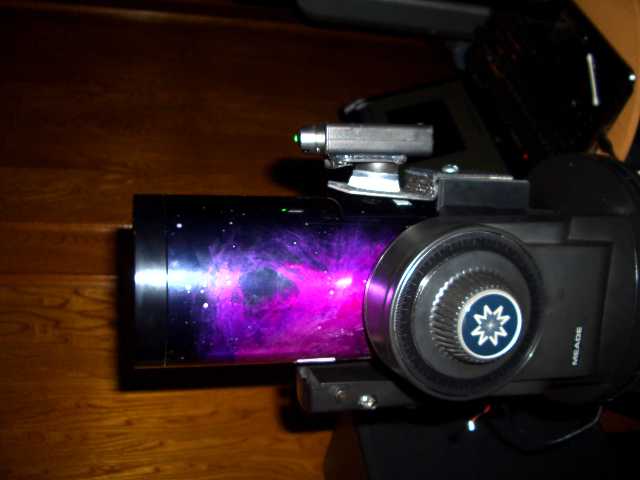
It sits just right on the scope, allowing a full range of motion and the
weight is negligible.

If anyone needs help or clarification, feel free to email me at
veyonyx@gmail.com

-Jordan Newman, TX, US


Go back to the Tech Tips page.
Go back to the ETX Home Page.