Comparison: Nebulosity vs PixInsight
Posted: 16 September 2014
Part 3 - PixInsight
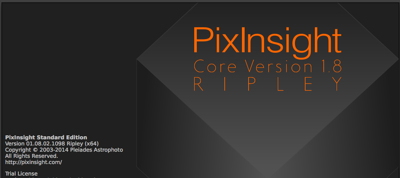 PixInsight
Pleiades Astrophoto S.L.
190 Euros ($246 USD)
Warning: this is going to be a painful review to read.
As there is a time limit with the PixInsight trial version I wanted to read the manual before installing the software (as I did with Nebulosity). Unfortunately, while there are a lot of online resources available on the PixInsight web site, there is no standalone downloadable manual. The online documentation is actually overwhelming to a new user and lacks a "Getting Started" section. There are also video tutorials available, but none of the tutorial descriptions hit me as a "Getting Started" guide. In the FAQ there is mention of the "PixInsight Resources" web site, which is a user run and supported web site. There is a short "Getting started with PixInsight" web page there. Once I read that article I requested and in about 30 minutes I received the 45-day trial application download instructions. I installed the application and began learning to use the application.
One caveat which is specific to the trial version is that an active Internet connection is required each time the PixInsight application is launched. That would be an issue for those who want to use the trial version of PixInsight in the field or observatory without an Internet connection. Once a license is purchased, an Internet connection is required only on first launch to activate the license number.
The "Getting started with PixInsight" web page would seem to be a useful place to start, but its translation to English was a little rough in places. And it is not really a "getting started" guide since it contains just short descriptions of several of the features of PixInsight. There is no "do this first, then this, and then this" outline of how to "get started" with the application. But if you have a basic understanding of what steps are usually required in image processing (stacking, levels, sharpening, etc), you should be able to start using PixInsight. At least, that is what I hoped, but that hope was soon crushed.
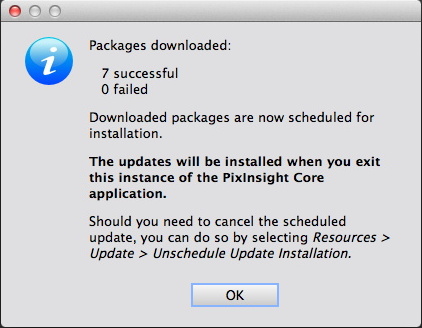
Upon initial installation, I was prompted to download 7 updates, which I did. To install the updates you quit the application. The application was quit and this error occurred:
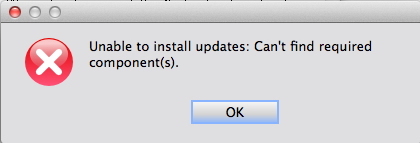
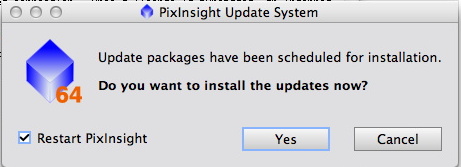
No virus software was installed on my test system. When I relaunched the application I got the "7 updates available" notice again:
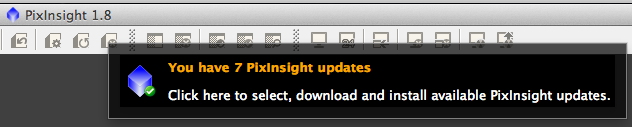
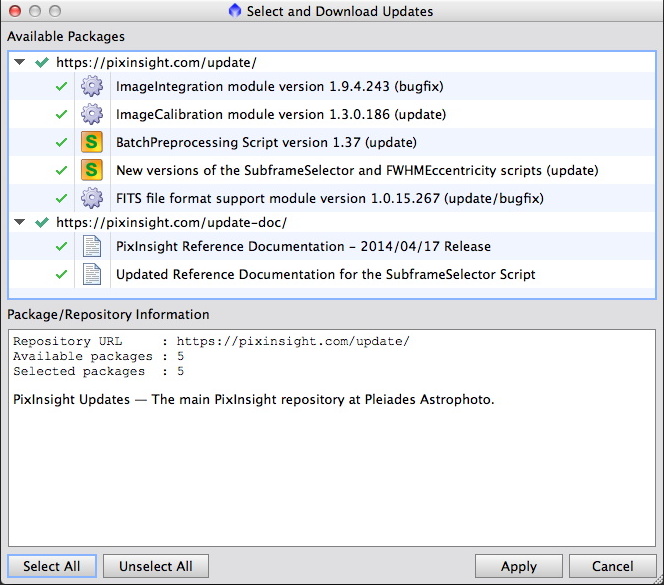
Gee, didn't I already download them? I selected to download them AGAIN, as seen here (which are the same windows as I received on my first download updates attempt):
The next launch of PixInsight still said there were 7 updates to be installed. Needless to say, my opinion of PixInsight was beginning to deteriorate. I decided to proceed with this somewhat out-of-date version.
Upon launch you are presented with this display (shown with the default full-screen view on my 27" iMac):
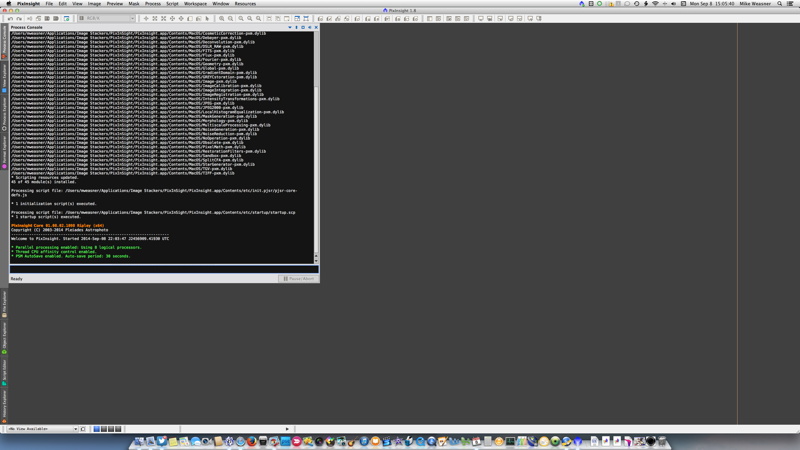
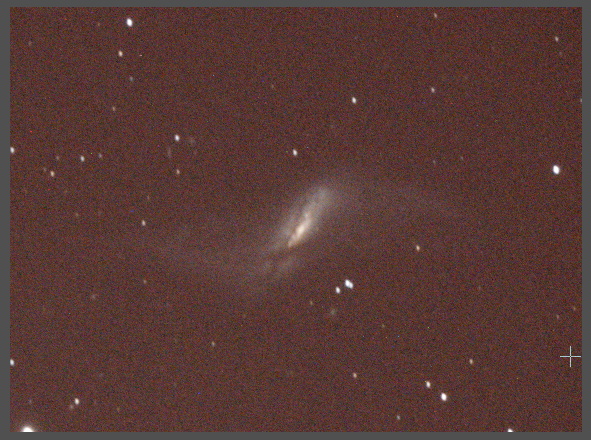
The Process Console view at the upper left goes away after a few seconds (even when manually opened). It shows what PixInsight is doing (or has done) during the session. A look at the PixInsight menu items revealed that it obviously has a lot of image processing capabilities and features. But now what do I do to get started processing my images? Well, I guessed that I should probably open my image files (either the Nikon NEF or TIFF files), so I selected "Open" from the "File" menu and selected the two NGC660 Raw NEF files. They opened. I also tested opening the TIFF files and they also opened OK. I decided to work on the NEF files:
The Process menu has the "Image Registration" (or stacking) function, which I had to locate by hunting the menus:

I selected "Star Alignment" and in the dialog box that appeared I selected my first NEF image as the "reference image":
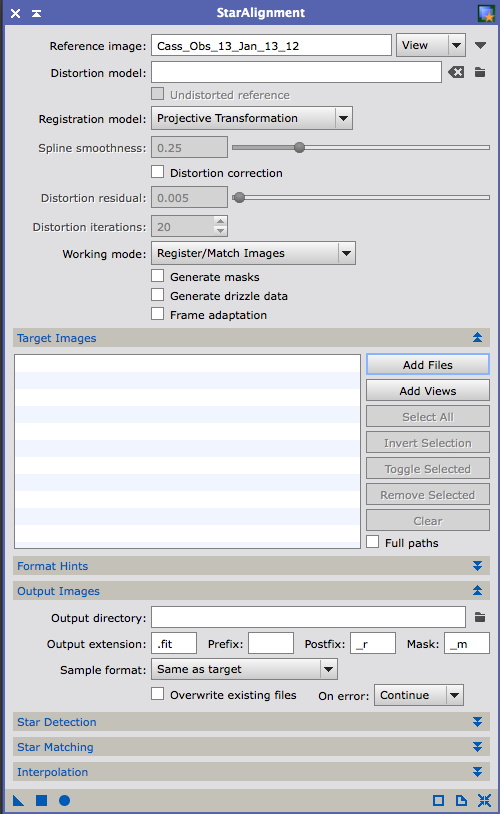
But, you guessed it, now what? One thing hit me right away about that dialog box: there is no "OK" button, or any button that was an obvious "Start Stacking" button. In mousing over the various icons at the bottom I found this "tool tip":
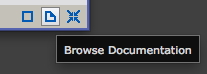
So I clicked the tool. And in the Process Explorer window that appeared this was displayed:

My opinion of PixInsight went down another notch.
Mousing over other icons got this:
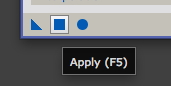
I clicked the Square icon. The Process Console window appeared and it showed that stuff was happening. After a few seconds a new image window appeared with "registered | <*new*> appended to the second NEF filename name:
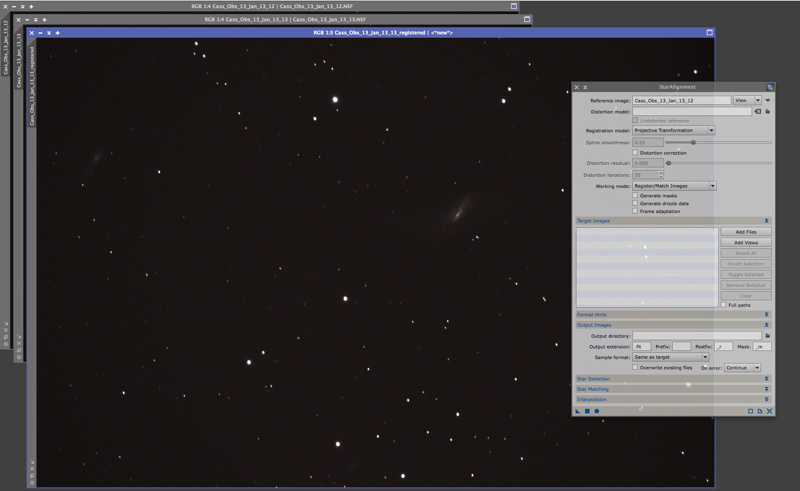
So I guess my two images were stacked.
Next, I decided it would be worthwhile to crop the stacked image as my editing was only needed where the galaxy was located in the image. But where is the "Crop" function? After mousing over all the icons at the top of the window and pulling down menu items, I finally found it: Process menu: Geometry: Crop, which brought up this dialog box:
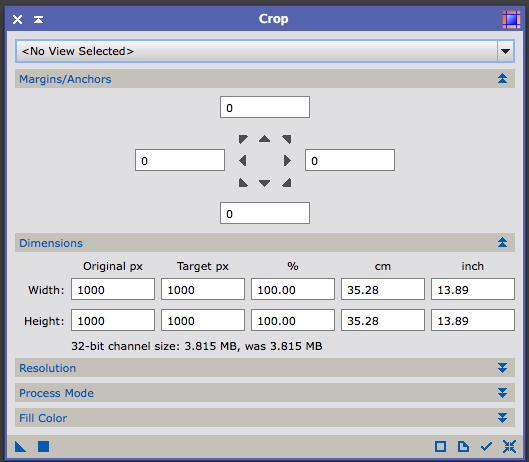
Gee, I have to enter the view to work on and manually enter the crop position? While that can be very powerful, why can't I just click in the open stacked image window and drag out a crop rectangle? If you try that you get a (handy) position display with X,Y coordinates and RGB values of where you click. But I want to crop. OK, lets check the online documentation. Oops:

When I clicked what I thought was the Close window button for the Process Explorer window, the entire PixInsight application quit, without even prompting me to save my edits! Did I loose my edit (which was only stacking at that point)? Apparently I did. The application opened with its default (empty) window and yes, still prompted me to install those uninstallable 7 updates. My opinion of PixInsight sank even lower. And at this point I was frustrated enough to give up working with the application on this particular day. I would resume trying to use it on other day.
A day later I resumed trying to use PixInsight. And yes, got those same "7 updates to install" alert and of course, they failed to install again. Oh well. Opened and stacked the two NEF files. That got me to the same point I was at the day before; I now wanted to crop the resulting image. My first crop attempt was to enter some values for the top, left, right, and bottom "margins/anchors" of the area I wanted to crop to. Assuming I was doing it correctly I expected to see a "crop rectangle" appear on my image. But nothing appeared to indicate that I had the correct area I wanted to crop. Oh wait, I failed to select WHICH image to work on; I had assumed it would work on the image that was showing. I then selected that image in the Crop dialog box. But still no crop rectangle appeared on the image. OK, lets try the Apply button. Something was done but my image wasn't cropped. Obviously I was still doing something wrong, being hampered by the non-intuitive (and non-Mac like) user interface. Since something happened, I figured I'd better "undo" what was done. So I went to the "Edit" menu and, guess what, no "Undo" option was there. I thought the Edit menu was the standard location of Undo, Cut, Copy, and Paste. There is a Copy command there, but the Undo command is under the Image menu. PixInsight is definitely not an easy application to learn, especially with its non-standard way of doing things. OK, so "margins/anchors" is not used to specify the crop area. Closed the Crop dialog and returned to the Process menu and went to the Geometry menu item. Oh, this time I saw a "Dynamic Crop" item. Selected that and was able to drag out a crop rectangle on my image:

I knew it just had to be there somewhere. But notice that what was a square "Apply" button on previous dialogs is now a checkmark "Execute" icon:
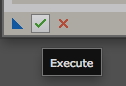
Seems to be just another example of non-standard inconsistency in PixInsight. But at least now my image was cropped.
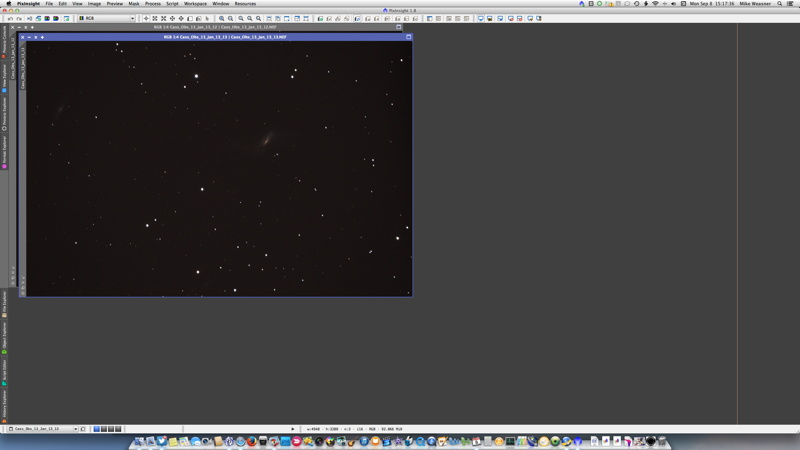
For my next operation I wanted to adjust the levels (also known as stretch, curves, or histogram). Is that under the "Image" menu or the "Process" menu? Well, both, depending on how you want to adjust the levels. At this point, my frustration with the UI was becoming extreme (as if you can't tell from reading this review). I tried the Auto Stretch function under the Image menu. Wow, it actually did a nice job, as seen in this screen capture:
Since I wanted to see how the other "levels" functions would perform I decided to Undo the Auto Stretch. Oops, Image: Undo menu item shows that it would undo the crop, not the stretch. Grrrr. So I couldn't undo the stretch. I then applied the Auto Stretch (boosted) function from the Image menu. That brightened up the image considerably. In playing with the Auto Stretch menu items it appeared that they work individually and not in sequence, that is, the previous change is ignored when applying the other one. That could explain why there is no Undo. I then realized something else; the Process menu items are operations that are performed once you enter all the needed values. There is no "live" view of what will happen to your image as you enter those values. And I then made another discovery: the Image menu Auto Stretch only applies to the onscreen view of the image and the image is not saved with those "edits". That means that I probably needed to do the Auto Stretch from the Process menu. But guess what? There is NO Auto Stretch in the Process menu. Under the Intensity Transformations menu item are most of the "levels" type of functions. I tried the Adaptive Stretch (with the defaults), but it didn't give me a good result. I then used the Masked Stretched (also using the defaults), which gave a much better image, at least I think it did. When I saved the file as a JPEG, again my "levels" edit was not saved.
It was at this point that I knew that PixInsight was not the application that I was willing to spend more time with. Could I have avoided the difficulties I experienced to this point? Probably, if I had viewed the online video tutorials. But I'm not am online video tutorial viewing type of person. I prefer real documentation. And for the price of PixInsight it should have real documentation.
Comments are welcome using Email. If you are on Twitter you can use the button below to tweet this report to your followers. Thanks.
Cassiopeia Observatory Home Page
Copyright ©2014 Michael L. Weasner / mweasner@me.com
URL = http://www.weasner.com/co/Reviews/2014/Nebulosity_PixInsight/index3.html