Review - Revolution Imager, page 2
Posted: 6 June 2016
Revolution Imager with 12" LX600 Telescope
My first astronomical use of the RI was from my observatory with it attached to my Meade 12" LX600:
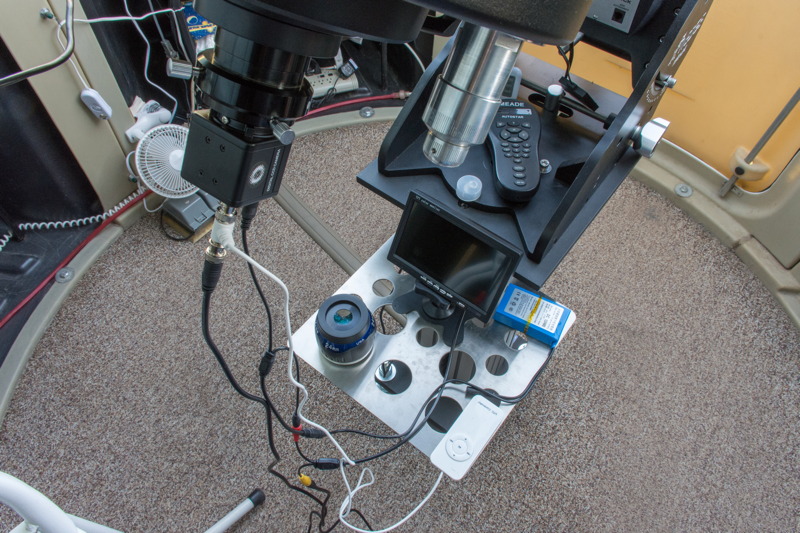
You can see that the short power cables meant that I had to place the monitor on the pier eyepiece tray. As with any device tethered to a telescope, it was necessary to watch the cables while the telescope was slewing. The optional Wi-Fi adapter (not tested) could help by untethering the display from the camera. But there would still be the short cable to the battery.
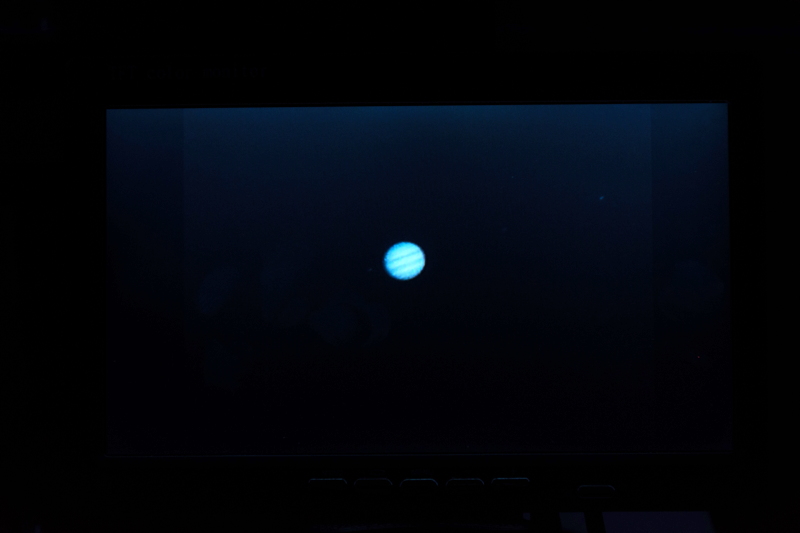
For my initial use at the telescope I mounted the Revolution Imager camera at prime focus using a visual back. The telescope was slewed to Jupiter. I set the exposure and gain to "Auto". As I began to focus the telescope I noticed that I needed to change the monitor aspect ratio from 16:9 to 4:3 in order for the planet to be round and not oval. The Auto setting overexposed the planet, but the "Fix" setting was pretty good. This is how Jupiter and some cloud bands looked on the display (disregard the color; it resulted from photographing the display):
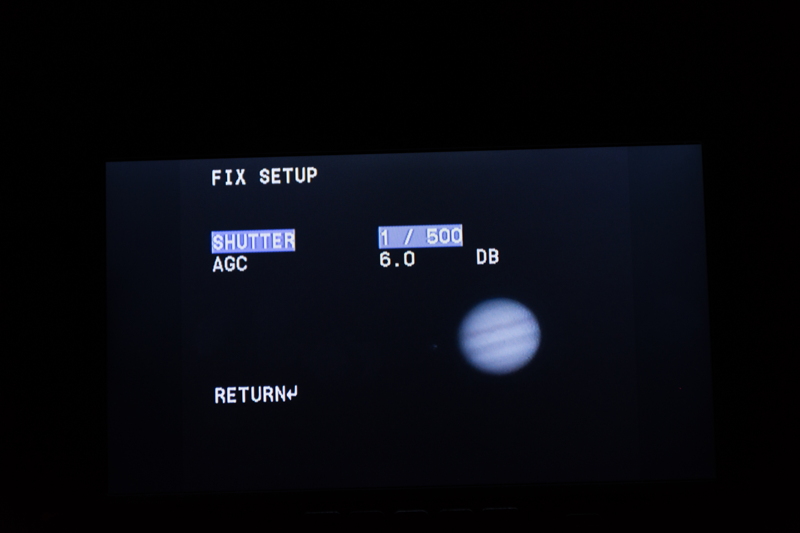
I added a 2X Barlow Lens (not included with the RI) and did some exposure adjustments. As seen in this photograph of the display, you can adjust the settings while viewing the object:
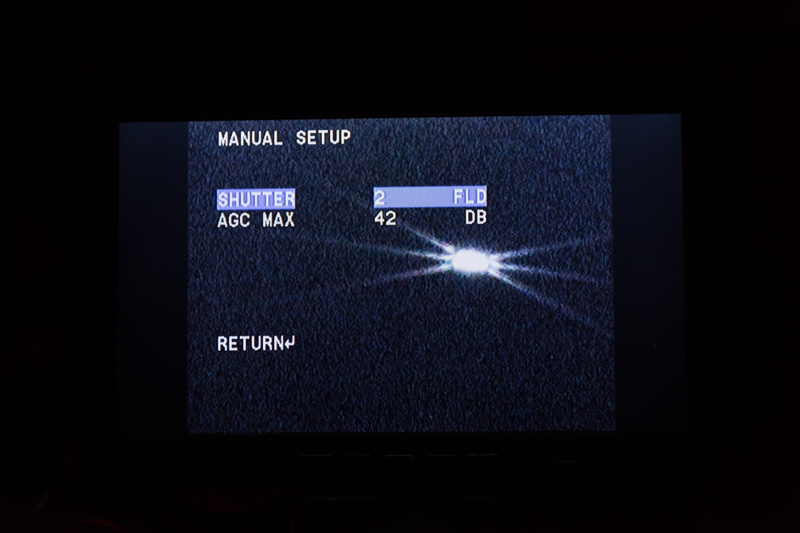
I then slewed the telescope to the star Spica, removed the Barlow Lens, attached a Bahtinov Mask to the telescope, and easily adjusted the telescope focus while watching the Mask diffraction pattern on the display:
The first Deep Sky Object (DSO) I viewed with the Revolution Imager was M104 (Sombrero Galaxy). Once I adjusted the exposure settings a pretty good view of the galaxy appeared. A tip: when adjusting settings, make a small change and then wait a few seconds for the image to stabilize at that setting before making any additional change. This screen shot shows the "DNR" (or image stacking mode) and M104:
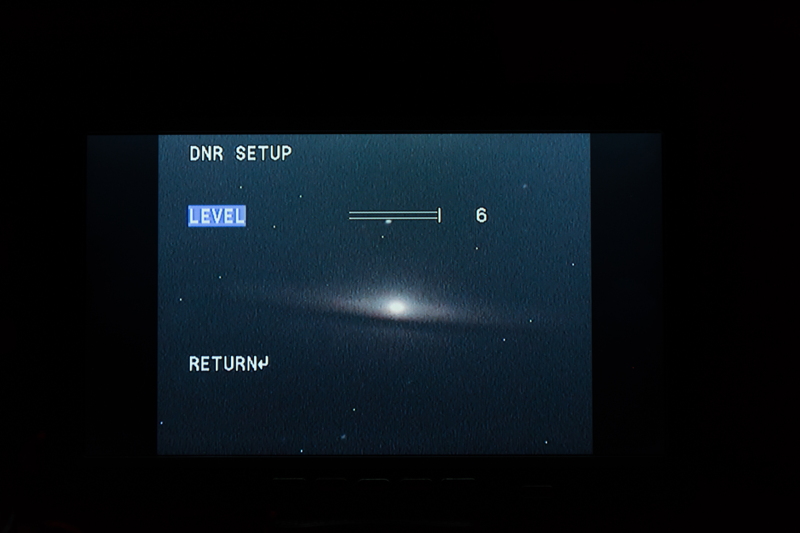
Those are not stars surrounding the galaxy in the view above, but are "digital noise" from the Revolution Imager camera. Some digital noise will be unavoidable at some exposure settings. Don't confuse any digital noise as stars.
I was pleased with my initial tests of the Revolution Imager. For my additional tests I printed the "How Do I?" tips on the web site for use at the telescope so that I would have suggested settings for DSO and planets. For Jupiter at prime focus I found that the "Fix" setting worked better than the suggested "Manual" settings:
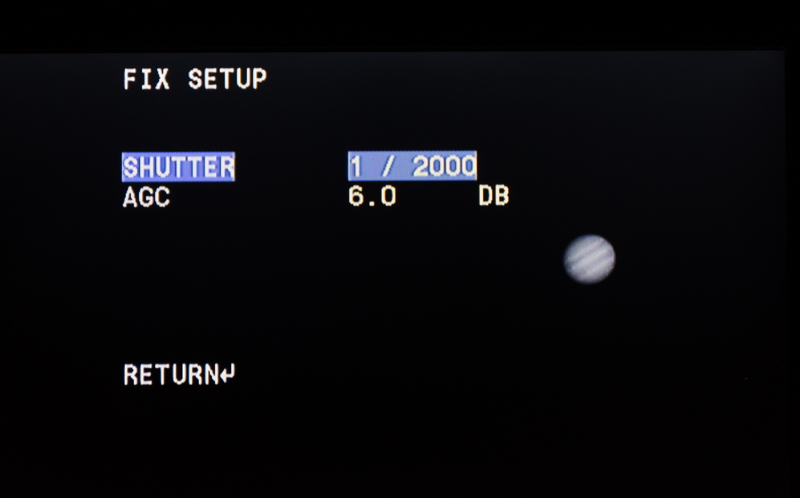
Then viewed Mars at prime focus, low in the southeastern sky. As the telescope began slewing from pointing at Jupiter near the zenith to Mars near the horizon the battery began sliding from where I had placed it. (That short power cable again...) With Mars displayed on the monitor with a Fix setting, the North Polar Cap was detectable. I added the 2X Barlow Lens; a Manual setting was better than Fix:
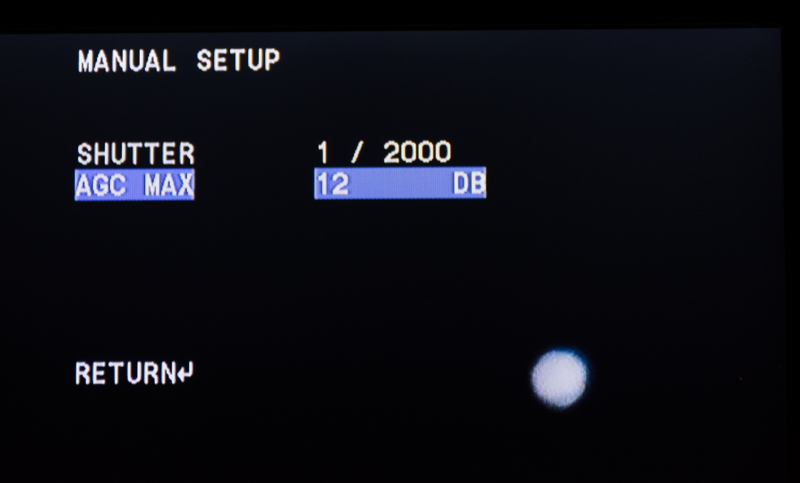
Viewing planets with the RI is OK, although not as pleasing as viewing planets with the eye in an eyepiece. The views of planets tended to be grainy.
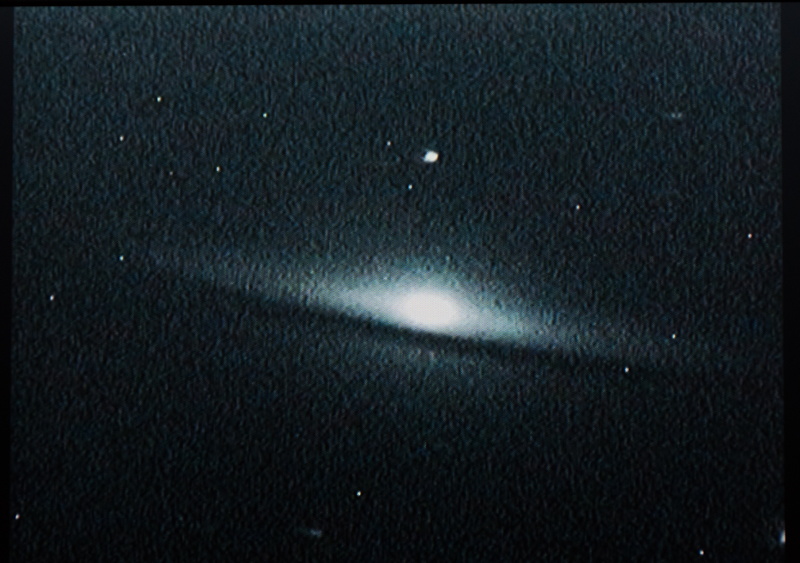
Removed the Barlow Lens and used Spica to focus with a Bahtinov Mask. I viewed M104 (Sombrero Galaxy) and used the suggested settings for Deep Sky Objects. I also turned down the monitor brightness somewhat. The view was pretty impressive (albeit grainy):
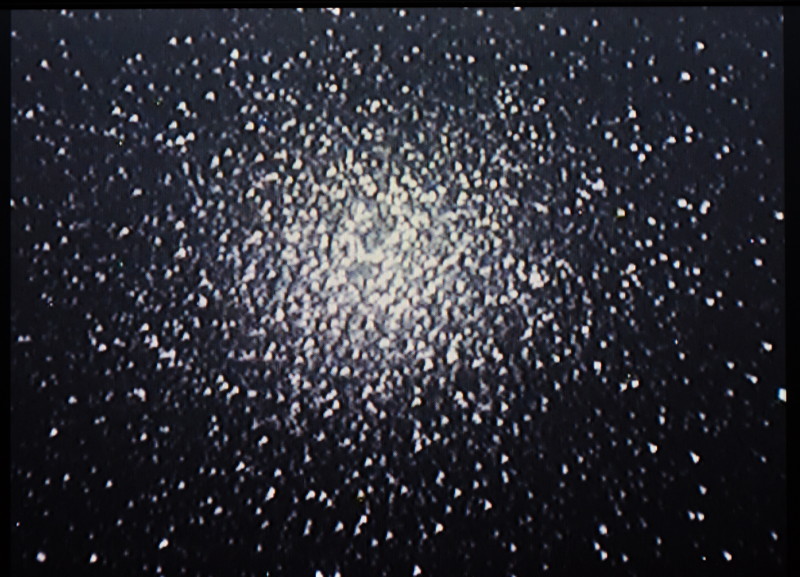
I then slewed the telescope to the Omega Centauri globular cluster, which was just above the southern horizon from my location. As the telescope tube approached horizontal both the RI battery and monitor began to pulled upward. The power cables were definitely too short for my large telescope.
The globular cluster was too large to entirely fit within the camera's field-of-view at prime focus, so I added the supplied 0.5X focal reducer. That allowed Omega Centauri to be fully imaged, and with a few tweaks to the suggested settings, this view appeared on the monitor:
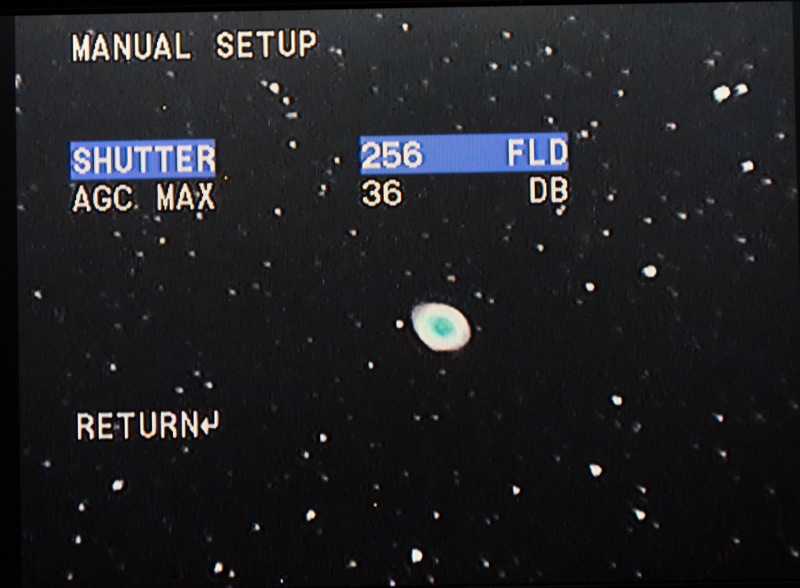
My last RI test on the first night with the 12" LX600 telescope was using M57 (Ring Nebula). With the focal reducer and just a few tweaks to the suggested settings, some color in M57 was evident:
Later nights were spent documenting object settings so that I would have a guide for my telescopes to help get each object into the best view as quickly as possible. Revolution Imager users can download my file Revolution_Imager_settings.xlsx (Microsoft Excel file). I will update the file as I observe more objects using the Revolution Imager.
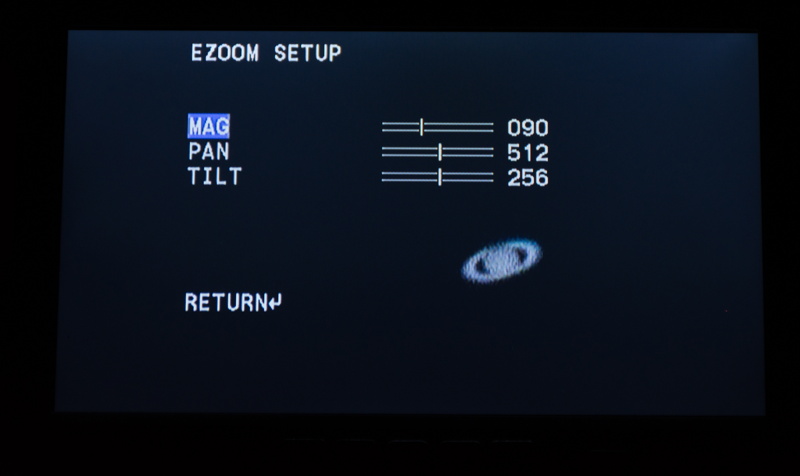
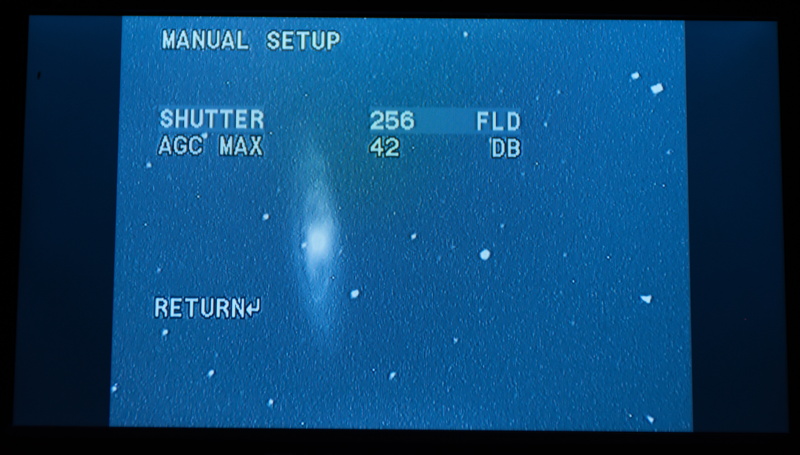
Here are some more example screen shots taken of objects in the 12" LX600 showing Saturn, M65 galaxy, and M13 globular cluster:

Go to Revolution Imager with ETX-105PE Telescope.
Cassiopeia Observatory Home Page
Copyright ©2016 Michael L. Weasner / mweasner@me.com
URL = http://www.weasner.com/co/Reviews/2016/Revolution_Imager/index2.html
