Review - Revolution Imager, page 4
Posted: 6 June 2016
USB Video Capture Adapter
To capture images directly to a computer you can use the USB adapter. The adapter has four cables on it, but only one (video) is used with the RI camera. The instructions on the Revolution Imager site discuss how to connect the adapter and how to use software running in Windows to capture images. Since I do not use Windows I needed to try the adapter on my 27" iMac (which I do not use in the observatory).
CAUTION: the USB Video Capture Adapter comes with a small diameter CD optical disc containing a driver for the adapter. This disc MUST NOT be used with some computer optical drives as damage may occur and the disc may become stuck in the drive. Fortunately, most users should not need to install the USB Video Capture Adapter driver from the CD.
First, I just connected the battery to the camera and the camera to the USB adapter. No telescope was used. I just wanted to see if I could view the camera's menu on my Macintosh via USB. As it turned out, no driver was needed for my Mac using OS X 10.11.5.
Using QuickTime Player I selected to make a new movie recording:

I then selected the USB camera by clicking on the down arrow next to the red Record button:

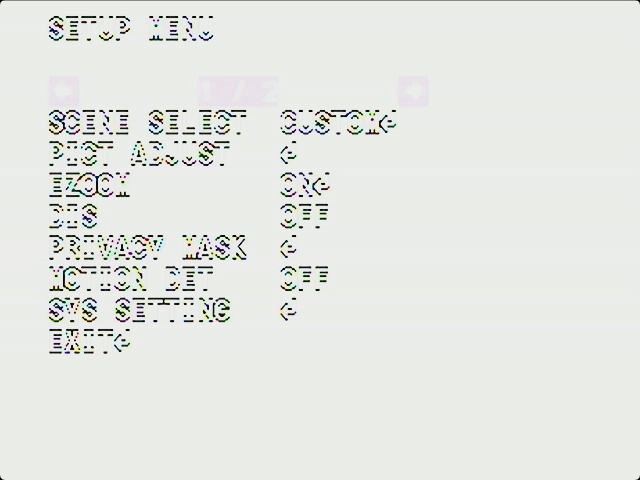
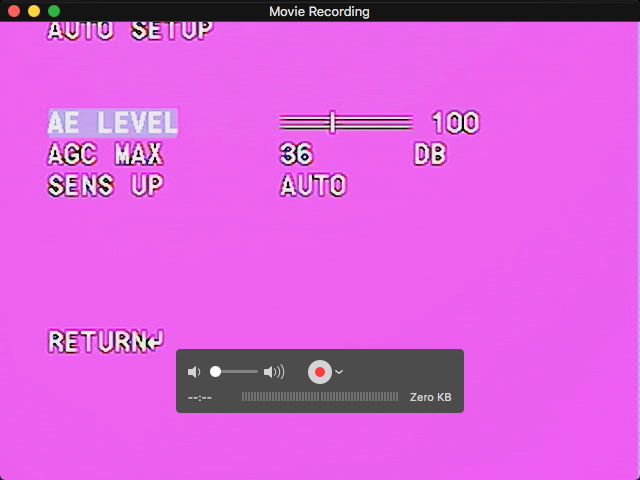
The camera view appeared on the Macintosh and I could bring up the menu:

I could now navigate the menus to adjust the view:

Once the view is correct for whatever object you are viewing you can either just view the object on your Mac screen or save a video recording for later stacking using a program like Keith's Image Stacker or Lynkeos.
Using Windows software is similar in that you can view objects and capture stills and videos from the Revolution Imager.
Summary
What makes the Revolution Imager unique and useful is that it is a complete system with camera and monitor, with no computer required to view astronomical objects through your telescope. You will need to gain some experience with what settings work best for what objects. The actual settings to use when observing objects will depend on many factors (i.e., telescope and optics used, the brightness of the object, and the seeing conditions. Since you can see the effects of changing settings in near-realtime, you will be able see some amazing views of "faint fuzzies" (galaxies, nebulae, star clusters) with the Resolution Imager.
I do wish the power cables were longer. You will need to watch the battery and monitor when slewing your telescope. Alternatively, you can purchase a 25' video and power cable kit for $13. A 25' cable is probably longer than most people will need however.
There are several other accessories available for the Revolution Imager. I suspect that the Wi-Fi Adapter will be very popular. Extra batteries or the higher capacity battery may be needed depending on how you plan to use the RI.
I will be providing additional reports on the Revolution Imager on future Cassiopeia Observatory reports.
I was impressed with the views provided by the Revolution Imager, especially Deep Sky Objects. As I expected, this will be a tremendous aid for use at star parties and public outreach events. Young children who haven't yet mastered looking through an eyepiece and small groups of people will be able to experience the excitement of the night sky wherever there is a Revolution Imager in use.
Go to the latest update (06/15/16)
Go back to the Revolution Imager review, page 1.
Cassiopeia Observatory Home Page
Copyright ©2016 Michael L. Weasner / mweasner@me.com
URL = http://www.weasner.com/co/Reviews/2016/Revolution_Imager/index4.html
