Last updated: 11 January 2004
|
Last updated: 11 January 2004 |
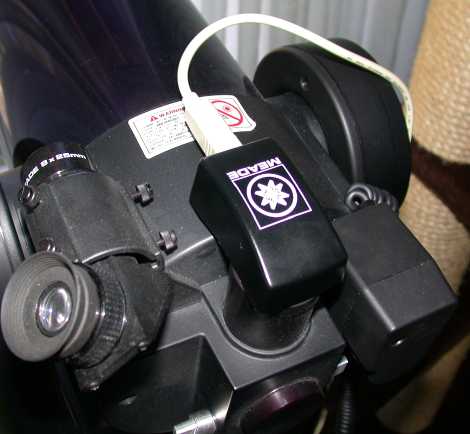

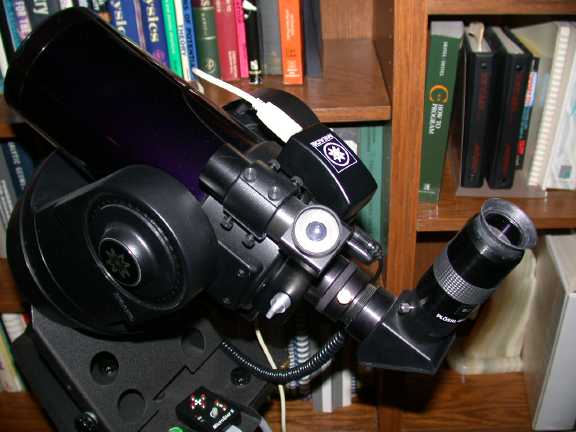
And here it is on my LXD55-8"SC:
Since the LPI does not require the use of the Autostar it can be used on any telescope. The ETX-70AT can use the LPI (although you will need a #497 Autostar if you want to use the Autostar control capabilities of the Autostar Suite).

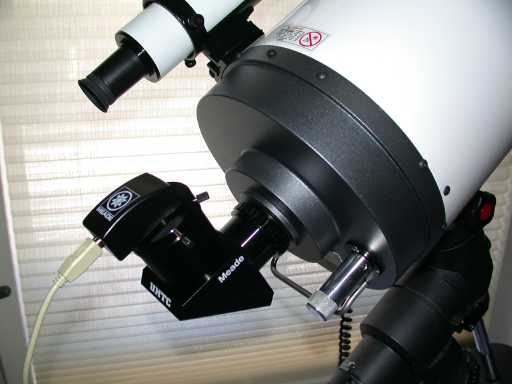
Here it is on my ETX-90RA:
My first attempt to connect to the LPI from the Autostar Suite application failed but the 2nd attempt worked (but my problems weren't over yet). I discovered how difficult it is to slew the telescope and focus an eyepiece while using the computer if the telescope and computer are not very close together. But I was able to slew close enough to my target object (a distant tree viewed through a window; not ideal obviously!) and to get a reasonable focus using the Meade Electronic Focuser (not included with the Autostar Suite). OK, now that I had an object in the eyepiece I switched back to the Autostar Suite application (I was in the Remote Handbox app to control the Autostar). But the Autostar Suite app was locked up and non-responsive. I went back to the Remote Handbox app and disconnected it from the "network" and the Autostar Suite app returned to normal. Don't know why this happened with the LPI connected. I then decided to start over with my LPI connection.
The manual says to connect the LPI and then launch the Autostar Suite application. For the attempt above, the Autostar Suite app had already been open when I connected the LPI to the computer. This time I connected the cable first and then launched the Autostar Suite app. The USB cable supplied with the Autostar Suite is about 4 feet long. I added an extension cable since my computer wasn't close enough to the telescope to be safe in all telescope orientations. But unlike my first connection attempt when I first installed the Autostar Suite software, this one failed. No image would appear from the LPI camera. No matter what I tried I could not get an image although the Autostar Suite said the LPI was connected and the LPI red LED was illuminated.
Then it finally dawned on me: I was running my laptop on battery and I normally have the Energy Saver processor setting on "Reduced Performance". I switched to "Highest" and the LPI image appeared! (I don't know if Windows laptops have this ability but Mac laptop users need to watch out for it.)
OK, now that I've got an image appearing in the LPI "live" view I decided to take a picture. I selected a "Terrestrial" object in the LPI controller window and used all the rest of the default settings. I then clicked "Start" and let it run for a few seconds, then I clicked "Stop". One of the defaults is to save the file as a JPEG, which unfortunately is not usable by the Image Processing application in the Autostar Suite. So if you plan to use the Image Processing app be certain to use one of the formats it can understand.
So what did the LPI app do? It took several pictures, checked their quality, and combined the "best" of them into a single image. Since my target object was moving in the wind there wasn't a good image to use but here is the (BLURRY) result, reduced from its original 640x480 size, just to show that the LPI and VirtualPC worked:

The next step will be to take some actual astronomical object photographs using my ETX-125, LXD55-8"SC, and even my ETX-90RA and ETX-70AT. But that will have to wait until the weather and my schedule cooperate.
Go back to the previous section - Autostar Use
Go to the next section - LPI - First Photos
Go back to the first section - Introduction
Return to the top of this page.
Go back to the Autostar Information page.
Go back to the ETX Home Page.