Sun-HST Transit Attempt;
More 12" LX600 Accessories Testing
Posted: 26 February 2016
|
Open: Thursday, 25 February 2016, 1445 MST Temperature: 88°F |
Session: 926 Conditions: Clear, breezy |
The observatory was opened in the afternoon in order to try to image the Hubble Space Telescope (HST) transiting the Sun. I previously imaged the International Space Station (ISS) and the Chinese space station Tiangong-1 crossing the disk of the Sun, but previous attempts at imaging the Sun-HST transits were unsuccessful (clouds or poor seeing). I have been able to image the HST transiting the Moon. You can see these past images taken with the 8" LX200-ACF on the Satellites photo album page. CalSky notified me of this Sun-HST transit:
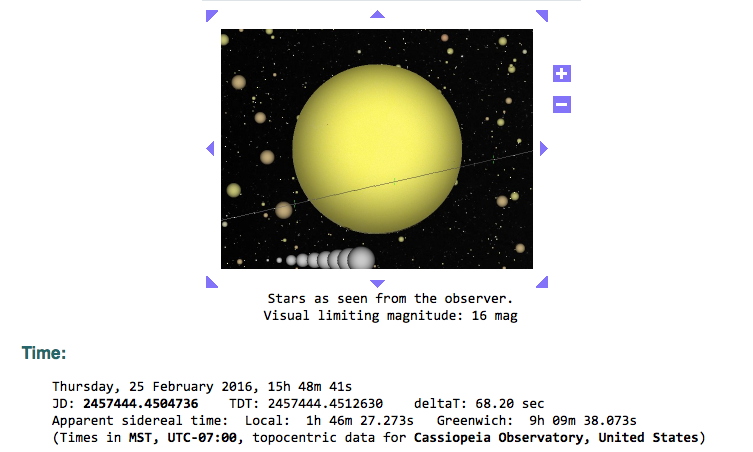
So with clear skies and the new 12" LX600 with a new full aperture solar filter I looked forward to making this attempt. I first synced the observatory clock to WWV.
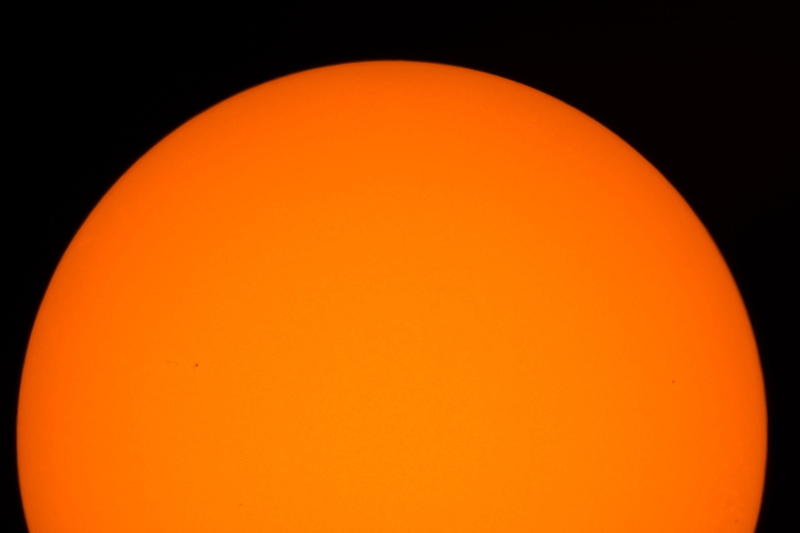
1500 MST: powered on the LX600 and set the StarLock and High Precision to OFF. Then did a GOTO the Sun (using the "Sun as Asteroid". Seeing was not very good, but eight small sunspots were visible at 102X. I mounted the D7200 DSLR at prime focus for this image, 1/400sec, ISO 100, showing two sunspots on either side of the disk:
I then did a short test HD video of the Sun to confirm camera settings. 1528 MST: all was ready for the HST transit at 154841 MST. I began the HD video recording, 1.3X crop factor, 60 fps, 1/1600sec, ISO 1000, about one minute before the transit and ended it about 30 seconds after the transit. When I reviewed the video during post-processing it was obvious that the seeing was not good enough and I was not able to capture the Hubble Space Telescope.
|
Close: Thursday, 25 February 2016, 1602 MST Temperature: 83°F |
Session Length: 1h 17m Conditions: Clear, breezy |
|
Open: Thursday, 25 February 2016, 1807 MST Temperature: 81°F |
Session: 927 Conditions: clear, calm |
This was a planned short session as I hope to begin construction of the POD Zenith Table (PZT) Friday morning.
The first thing I did after re-opening the observatory was to change the finderscope right-angle eyepiece orientation to make it more accessible when the telescope is pointed near the horizon.
1817 MST: sunset. 1820 MST: powered on the LX600. Turned the StarLock and High Precision OFF. GOTO Sirius and aligned the finderscope. Then began waiting for the sky to get darker.
I used the wired AutoStar II handcontroller for this session as I wanted to test the iOS app ScopeBoss for functionality with the LX600. As I discovered on a recent session, the Wi-Fi connection to the LX600 only works when using the wired handcontroller and not the wireless AutoStar handcontroller. ScopeBoss was designed for use with the AutoStar II system on the LX200GPS/ACF models. Much of the AutoStar II functions are the same with the LX600 and LX850 but there are some differences relating to the addition of the StarLock functions. 1840 MST: powered on the GC Wi-Fi Adapter and began testing ScopeBoss. The good news is that most AutoStar functions in ScopeBoss work to control the LX600, even viewing the StarLock settings:
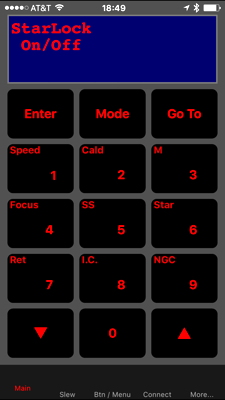
All three slewing modes worked fine, as did selecting objects from the Main AutoStar screen. So ScopeBoss can be used with the LX600 for typical operations. Due to differences in the LX600 AutoStar software vs the LX200GPS/ACF software I did not use ScopeBoss to make any changes to any settings. I have passed a usage report to the ScopeBoss developer and hope to be testing a new version soon that supports the LX600 and LX850 telescopes.
1915 MST: began setting up for DSO imaging. I turned the StarLock and High Precision back ON. I used the AstroCap Focusing Mask to focus with the D7200 DSLR at prime focus + Optec focal reducer.
1926 MST: the Zodiacal Light was nice, as was the Winter Milky Way a little later.
This is M42 (Orion Nebula), 30 seconds, ISO 4000:
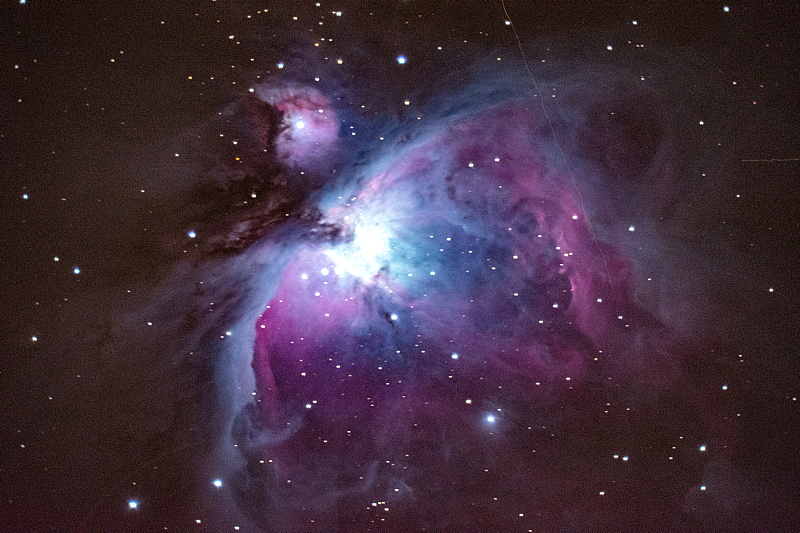
Some autoguiding trailing error is visible in the image. I plan to go through all the StarLock assisted setups on the next session, which should improve autoguiding. Two faint satellites are also in the image.
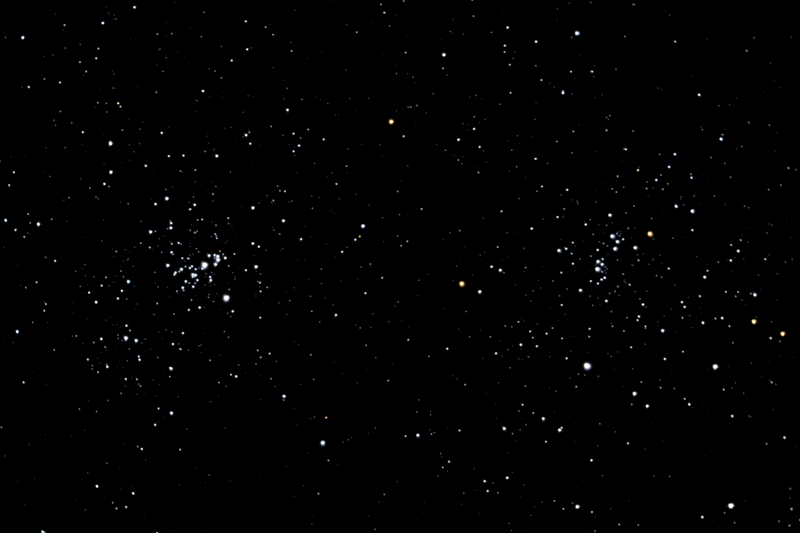
This is the Double Cluster, 15 seconds, ISO 2000:
Even though I have not yet configured the StarLock for accurate autoguiding I decided to try a test exposure of the Horsehead Nebula. I did a GOTO Horsehead Nebula. The nebula was not visible in the DSLR viewfinder so I decided to try a 30 seconds, ISO 6400, exposure and see what appeared. This is what appeared:
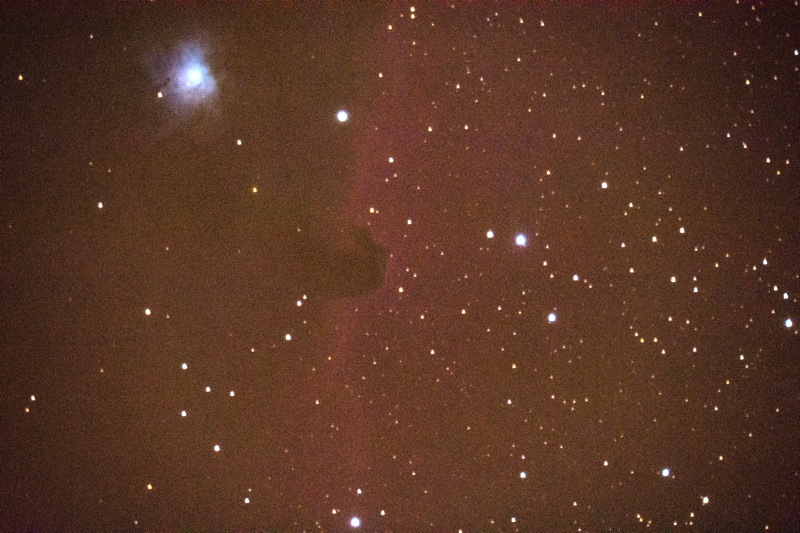
Not bad for a single frame image!
It was at this point that I decided that the red LED status light on the StarLock telescope was too bright for my dark sky site. I will apply some red lens tape on the next session to dim it down.
Unmounted the DSLR and focal reducer and tried to view the Horsehead Nebula using the 2" 24mm UWA eyepiece (102X); no success. Switched to a 1.25" 26mm eyepiece (94X) with a Hydrogen-Beta filter; success. The Horsehead Nebula was even easier to see using a 1.25" 40mm eyepiece (61X) plus the H-B filter. The nebula was even visible (barely) with the 40mm eyepiece without the filter.
The last object viewed this session was the Flame Nebula (NGC2024), 102X. Nice, once the star Alnitak was moved out of the field-of-view.
|
Close: Thursday, 25 February 2016, 2034 MST Temperature: 62°F |
Session Length: 2h 27m Conditions: Clear |
My review of the Astrozap AstroCap Focusing Mask has been posted.
Breaking News: the pier has been ordered from OPT.
Comments are welcome using Email. If you are on Twitter you can use the button below to tweet this report to your followers. Thanks.
Cassiopeia Observatory Home Page
Copyright ©2016 Michael L. Weasner / mweasner@me.com
URL = http://www.weasner.com/co/Reports/2016/02/26/index.html
