
SkyShed POD Zenith Table (PZT):
Construction, Installation, & Use
Posted: 18 April 2016
Updated: 12 July 2020
Jump to the latest update (07/12/20)
When I began seriously considering upgrading Cassiopeia Observatory from the Meade 8" LX200-ACF telescope to a Meade 12" LX600 telescope I knew that the much larger telescope and the StarLock autoguiding system would likely need more access to the sky without optical interference from the dome of the SkyShed POD. Fortunately, SkyShed Observatories has the POD Zenith Table (PZT) add-on to allow the dome to be moved off the POD walls, essentially making the POD a "roll-off roof" observatory when needed. I began discussions with Wayne Parker at SkyShed Observatories about the PZT prior to the installation of the 12" LX600 telescope in my POD. Once the 12" telescope was installed in the POD it became very obvious that the PZT would definitely be needed for this telescope.
The PZT consists of the PZT Hardware Kit ($479) from SkyShed in Canada and some items purchased locally. Prior to receiving the Hardware Kit I reviewed the construction manual to determine what I needed to purchase locally. Here's the materials list with local prices:
2 Sheets of 4' X 8' X 3/4" marine grade plywood (Home Depot; home delivery) - $230
Wood Glue - $9
Varnish (1 gallon) - $50
Brush for varnishing - $15
Bumpers (boat bow rollers) (qty 4) - $8ea
Mounting hardware (bolts, washers, nuts) for bumpers - $15
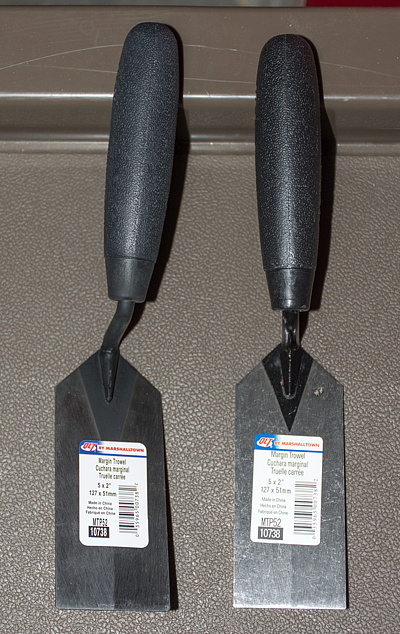
Plastering trowels (qty 2) - $10ea
The following are the steps I did to assemble and install all the various components that make up the POD Zenith Table. As I worked mostly alone I did the work over many days and nights.
Dome Handles
The first thing I made was the PZT handles (which are optional but seemed like a good idea). The handles are actually high quality plastering trowels:
Here are the handles installed on the dome:
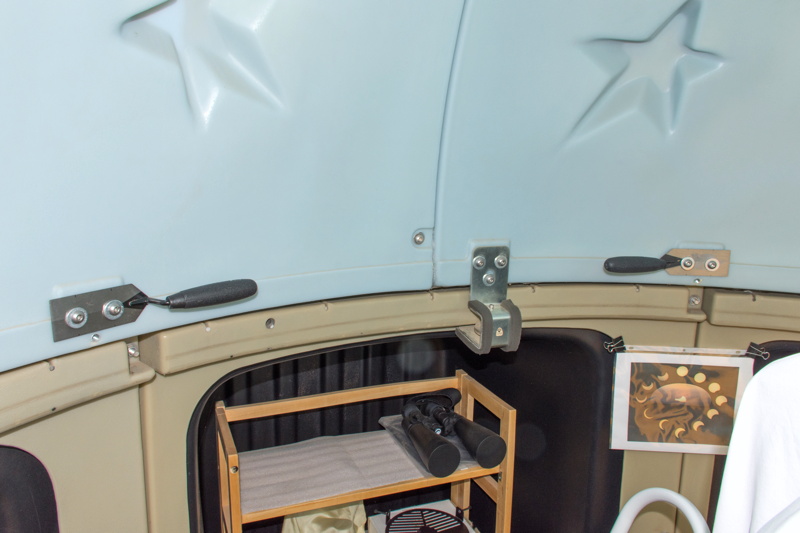
The most difficult part (using my limited tools) was drilling the mounting holes in the metal plate on the trowels. Once the holes were made the handles were attached to the dome using the empty dome bracket positions and unused bracket bolts:

Table Construction
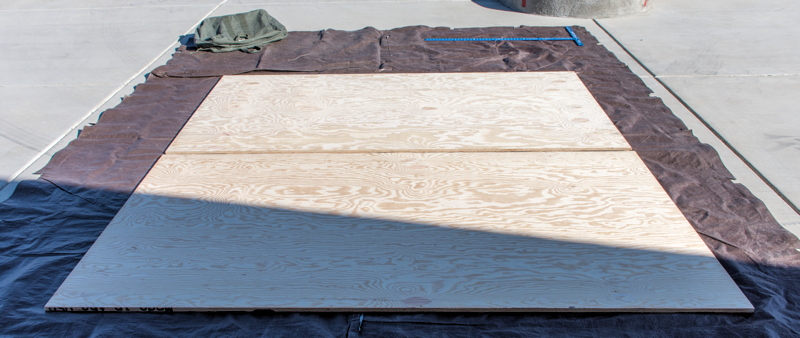
The initial marking and sawing was the most difficult part of PZT construction and took about 5 hours. I did most of the work by myself, but Laurraine (wife and CFO) helped when it came time to saw the wood into the various large pieces. This is what I started with, 2 sheets of 4' X 8' X 3/4" marine grade plywood, as delivered from Home Depot:

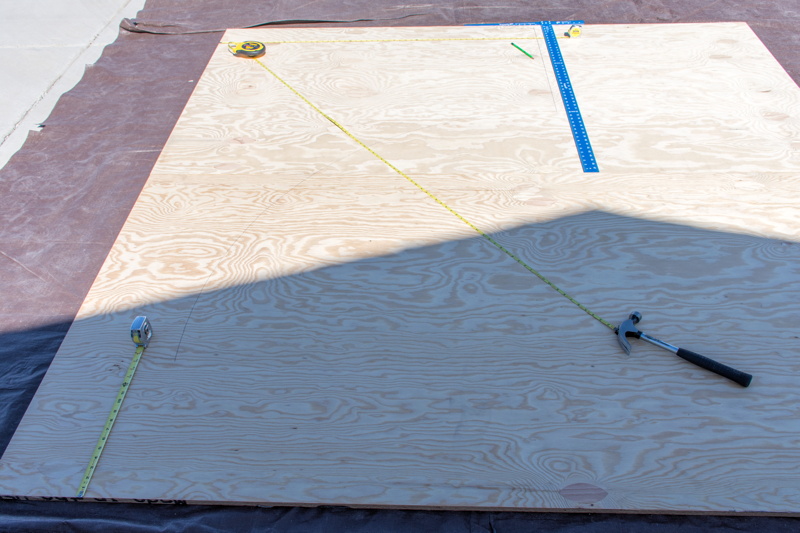
And here are the sheets on my driveway as I prepared for marking the lines used to guide the sawing (per the construction manual):
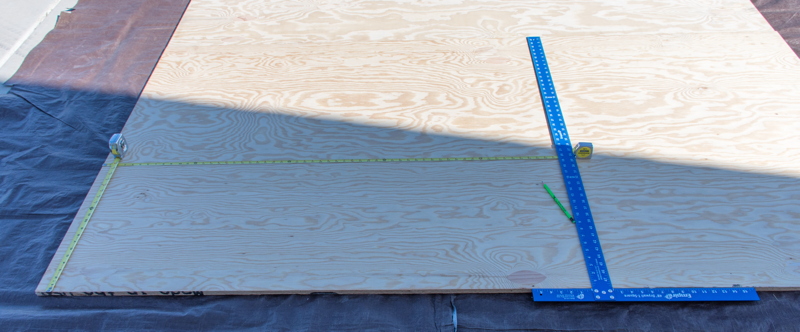
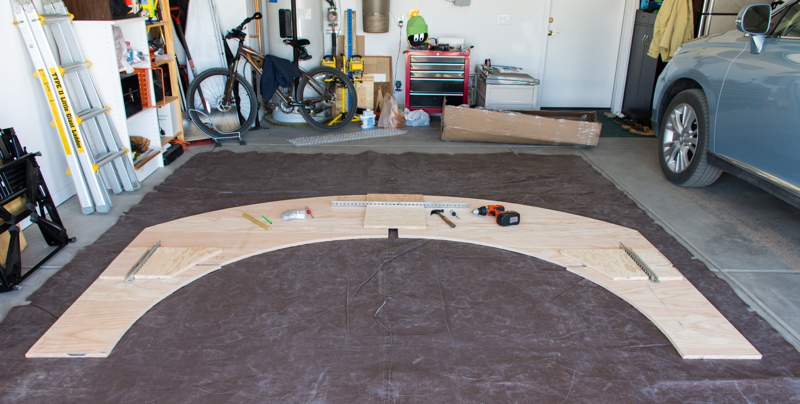
I had only one problem with the marking. The manual said to use a string as a guide to draw the necessary arcs. However, the string I was trying to use was too "stretchy" and was difficult to keep taught at the proper length. I ending up using a long metal tape measure that had a loop at the end which was hooked on the center point nail. Here you can see a couple of the steps in marking lines for sawing:
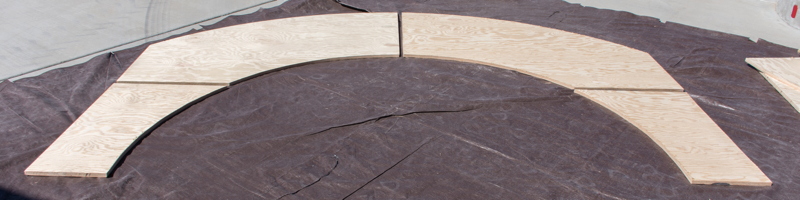
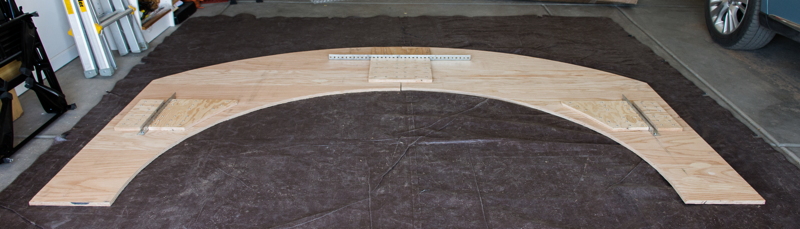
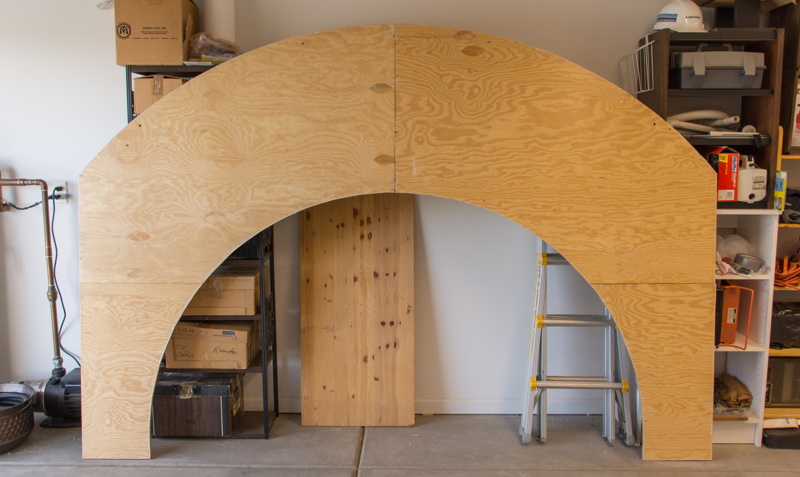
After the lines were all marked (and checked and rechecked), sawing was done to create the final PZT table shape, consisting of four sections:
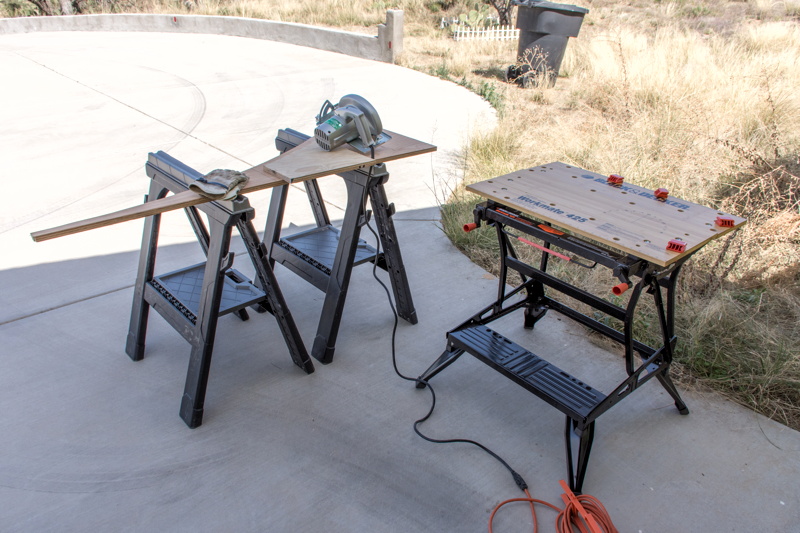
The next step was to cut several smaller pieces (underside support braces) and sand all the cut edges. This took about 2.5 hours (working by myself):
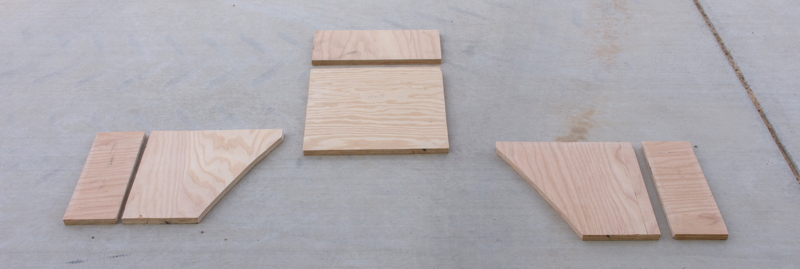
These are the support pieces I ended up with:
Once the PZT Hardware Kit arrived I completed the table construction using the supplied parts.
PZT Hardware Kit
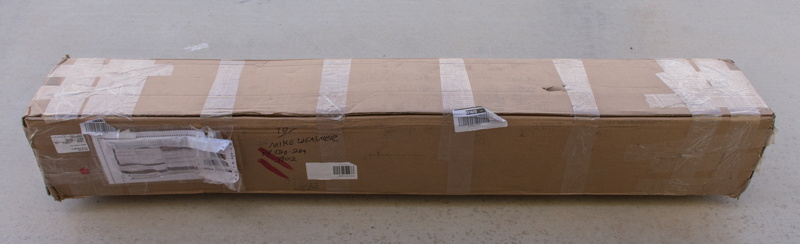
This is the box the PZT Hardware Kit arrived in:
Here are the parts that were in the box:

Table Assembly
The four table sections had to be assembled into a single piece using the three metal braces from the Hardware Kit and the six wood braces I made (per the instructions). Here are the parts and some tools ready to begin assembly:
The assembly took way longer than I expected and probably longer than it should have. After getting two blisters I discovered that I had to pre-drill holes for the wood screws as the plywood was too dense for the wood screws to screw into without the holes. It took several attempts before I got a drill bit size that worked without being too large. That size turned out to be 9/64". Doing the assembly on the left and right sides of the table took six hours, with frequent rest stops. After 3.5 hours on a second day, the two halves were joined. Here is the table with all the sections joined and the support braces glued and screwed down:
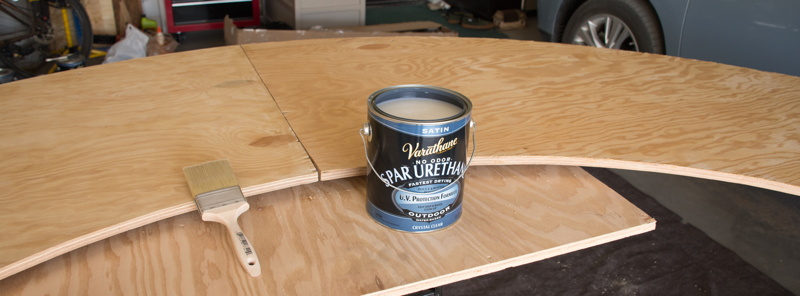
Next I drilled holes for the four bumpers. After the wood glue had dried for 24 hours I varnished the table on both sides (4 coats each side). Here is the first coat:
The varnishing took about 30 minutes plus 2 hours of drying for each coat. Here is the completed table (top side showing):
I then waited 3 days to allow for full weather-proofing of the table. Unfortunately, rain further delayed the PZT installation.
Go to page 2, PZT Installation.
Comments are welcome using Email. If you are on Twitter you can use the button below to tweet this report to your followers. Thanks.
Cassiopeia Observatory Home Page
Copyright ©2016, 2019-20 Michael L. Weasner / mweasner@me.com
URL = http://www.weasner.com/co/Reports/2016/04/PZT/index.html