Review - SkyShed POD Vinyl Dome Cover
Posted: 1 September 2021
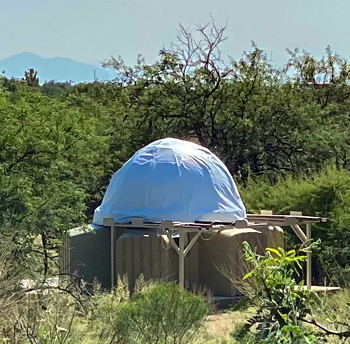
POD Vinyl Dome Cover
SkyShed Observatories
$449
After 12 years of not having much of an issue with rain water dripping inside my SkyShed POD observatory, this summer's strong Arizona Monsoon storms pointed up the need to touch up some seals on the dome that are meant to keep the water out. Some seals (foam and Lexel sealant) had deteriorated somewhat over the years in the Arizona Sun. However, as I began doing the replacements I realized that my getting older made this job more difficult. So, I decided to permanently eliminate the potential for drips with minimal work by purchasing a POD Vinyl Dome Cover from SkyShed Observatories.
I selected the white cover to reflect more of the Sun's light away from the POD even though I have an Air Conditioner inside the observatory. Light gray, medium green, and tan covers are also available.
While waiting for the Dome Cover to arrive, I purchased six 3/8"x5" eye bolts ($1.50 each) to replace the existing 3/8" POD mid-wall bolts. The existing washers, nuts, and bolt end rubber caps would be re-used. As the eye bolts were a little loose when inserted into the mid-wall holes, I decided to add three 7/8" rubber gaskets ($1.40 each, total 18) to the exterior end of each bolt. This provided better tightness and a rain water seal. I also purchased six 18" ($3 each, 15"-18" recommended) bungee cords.
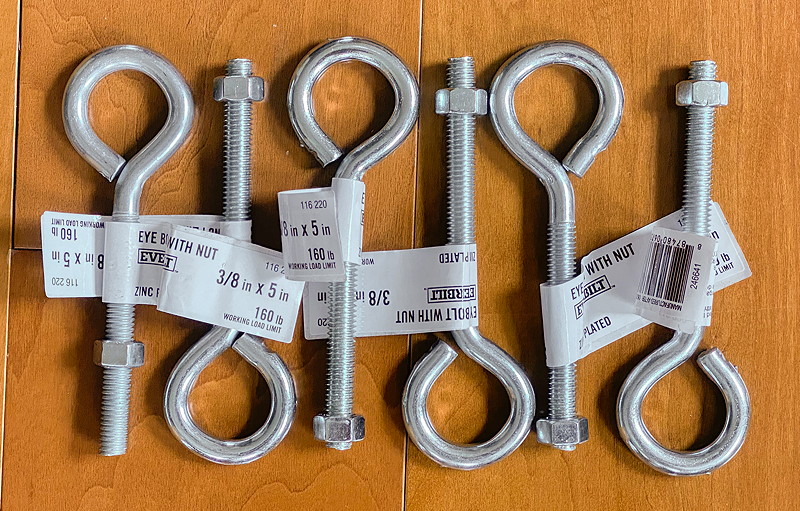
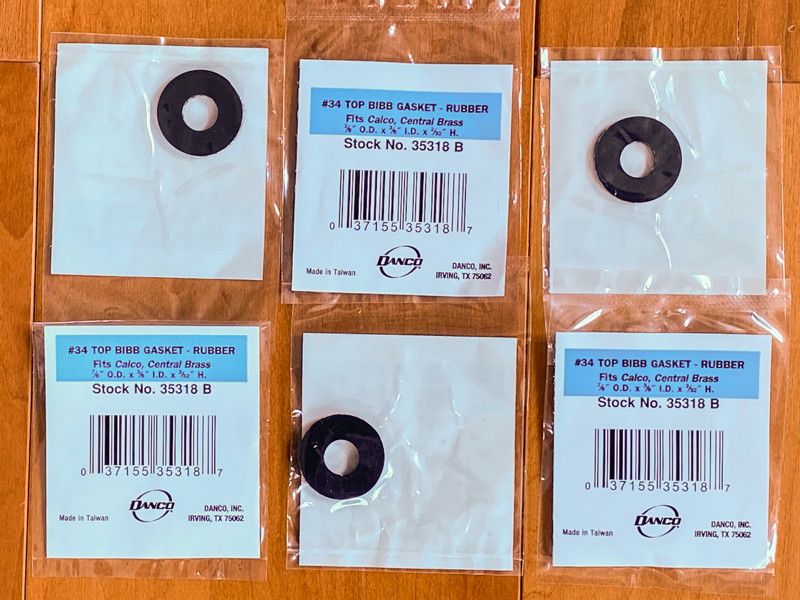
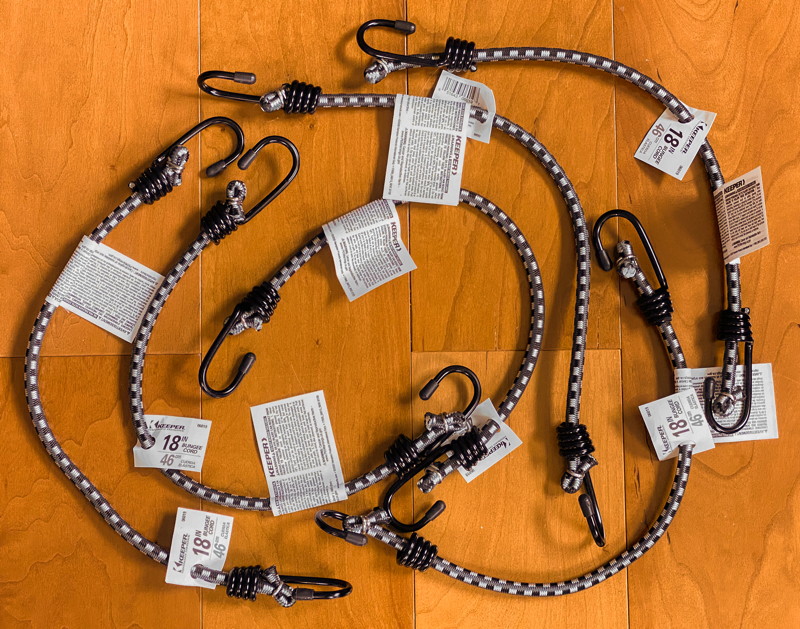
Replacing the existing bolts with the long eye bolts was simple. Once that was done, I was ready to use the Dome Cover when it arrived.
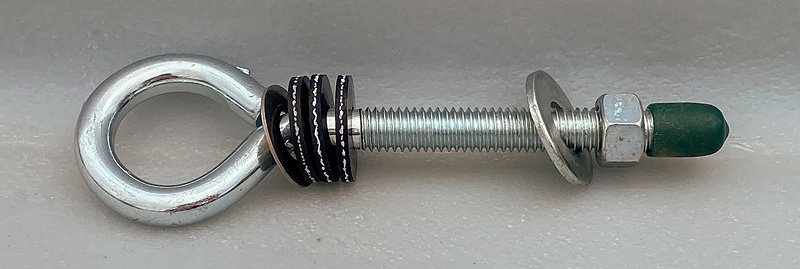
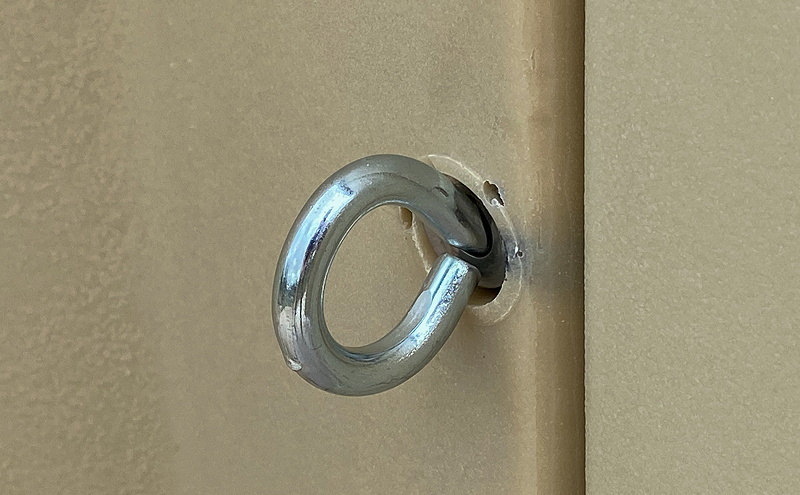
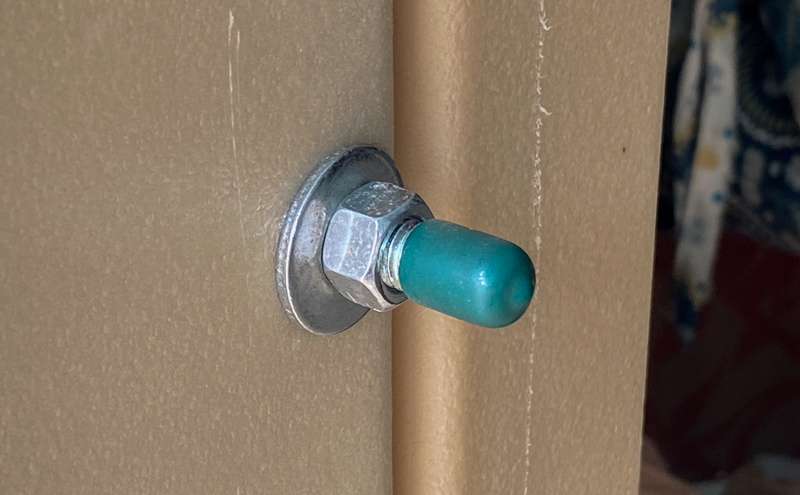
The Dome Cover was ordered 18 July and was shipped by the supplier on 28 July. However, through no fault of SkyShed Observatories, the shipping company lost the package. That was unfortunate as the cover would have received a good test during heavy rains from multiple Monsoon thunderstorms. A replacement white cover finally arrived on 24 August. Two nylon ropes (each about 5' long) were attached to the cover.
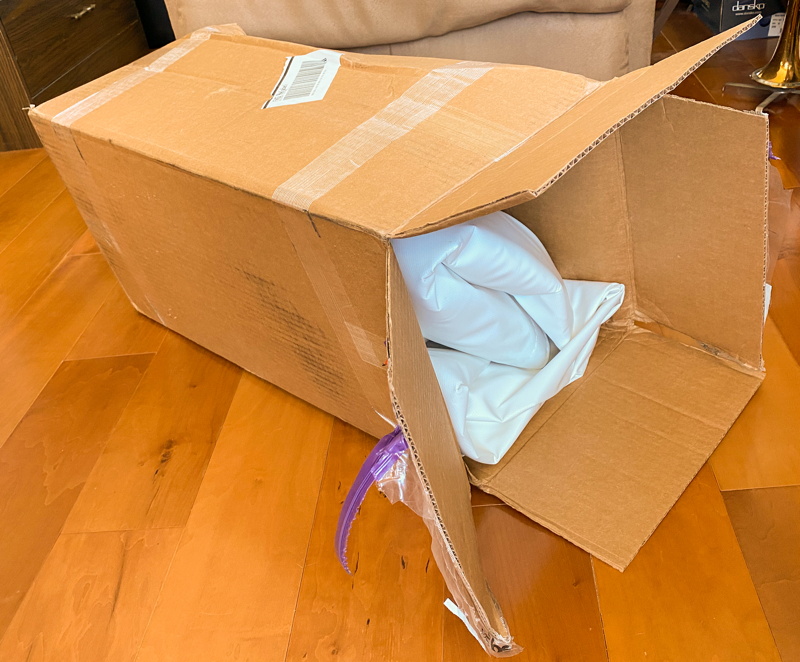
A manual is available online from SkyShed Observatories.
Using the Dome Cover
There are two techniques described in the manual for putting the cover on the dome:
1. the cover is pushed up over the dome to put it in place.
2. a long rope is attached to the cover, the rope is thrown over the dome, and the cover pulled up and over the dome using the rope.
Then the cover is rotated to align the grommets at the bottom edge of the cover with the eye bolts.
I found the first technique too difficult for me. The cover weighs more than you might think, making it difficult to push upwards onto the dome.
The second technique worked nicely for me. I tied the two included nylon ropes together with the two ends attached at adjacent grommets. I then added a 16' rope tied to the middle of the included ropes. I placed the cover on top of a bay and positioned the long rope over the top of the dome. With the long rope hanging down the side of the dome, I pulled on the rope to pull the cover onto the dome. I then attached each bungee cord.
This 2-and-a-half minute video shows how I added the cover. Click or tap to play the video.
I have a non-standard POD Zenith Table (PZT) so I wondered how I would secure the cover to the two eye bolts on that side of the POD using the bungee cords. Fortunately, reaching the two eye bolts under my open structure PZT was not difficult. With a standard PZT (wood table), it will likely be impossible to attach bungee cords to the POD wall under the PZT. An alternative location would have to be found for those bungee cords.
With the cover on the dome, opening the door was not a problem. The cover edge just needs to be raised slightly while opening (or closing) the door.
This 49 second video shows how I removed the cover.
I rolled up the cover and used a velcro strap to secure it. I stored the cover in one of my POD bays. All five of my bays were already full so I had to do some rearranging of the items stored in the bay along with the cover.
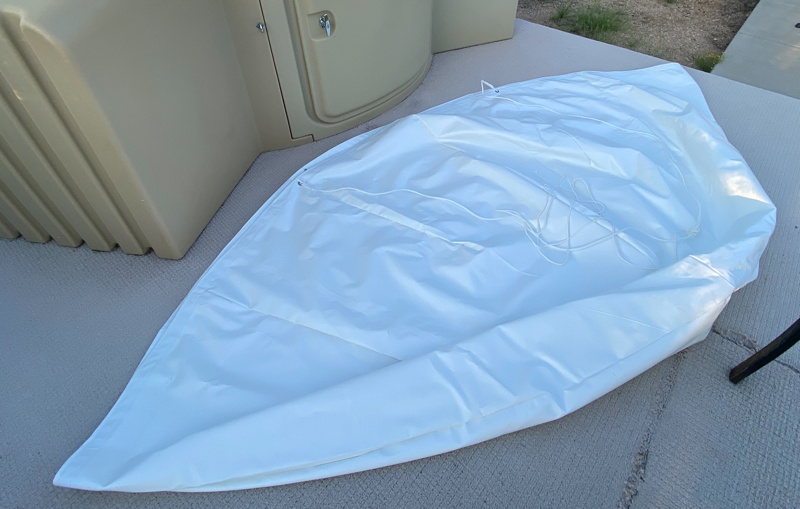
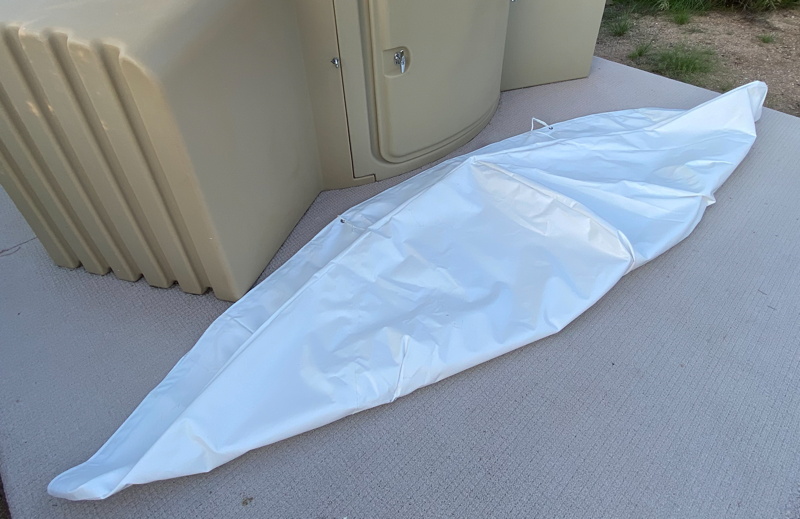
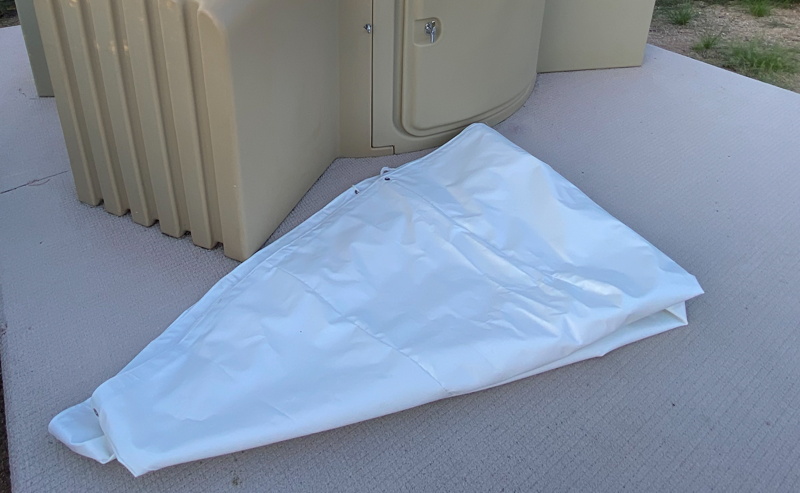
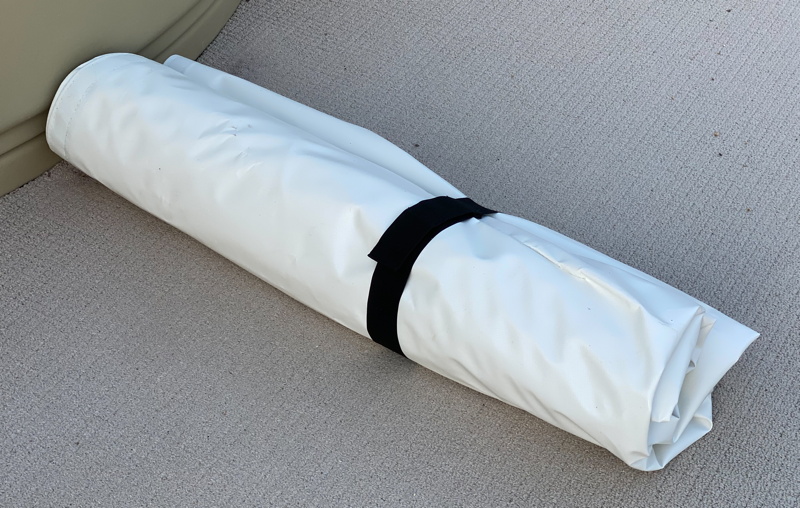
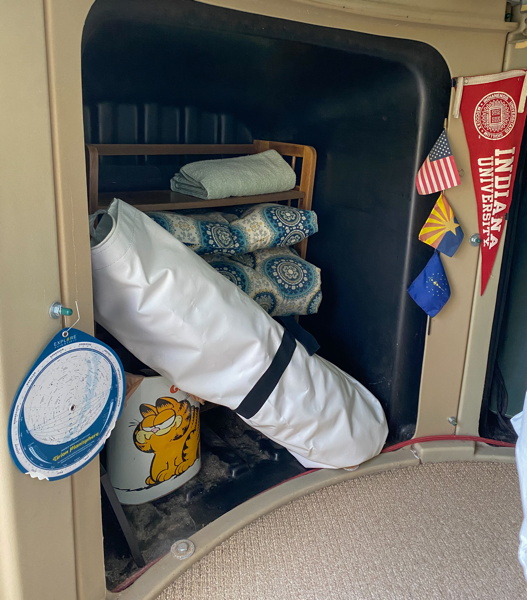
What about putting the Dome Cover on and taking it off in the dark? Getting the cover OFF at night is essentially the same as in the daytime. However, when putting the cover ON at night at my dark site I discovered that it was more difficult since I could not easily see how far to throw the rope up to the top of the dome. Plan on taking a little more time at night to cover the dome.
POD Temperature Measurements
The Dome Cover passively lowers the inside POD temperature by blocking Infrared and Ultraviolet waves. Mid-afternoon on successive days during a period of excessive heat warnings here, I measured the POD inside temperature with and without the Dome Cover in place. I also did spot checks on the inside surface of the dome. (My SkyShed GPOD XL5 has an insulated primary dome and insulated bays; other models will yield different temperatures.) The results:
Cover OFF, Air Conditioner OFF (cloudy, storms in area)
Outside air temperature: 87°F
Dome temperature: 103°F
Inside air temperature: 104°F
Outside air temperature (maximum): 106°F
Inside air temperature (maximum): 117°F
Cover ON, Air Conditioner OFF (clear)
Outside air temperature: 104°F
Dome temperature: 130°F
Inside air temperature: 113°F
Outside air temperature (maximum): 104°F
Inside air temperature (maximum): 113°F
Recent summers in southern Arizona have been much hotter than normal, which is why I installed an Air Conditioner in 2017. In the summertime I expect to frequently use the Air Conditioner even with the Dome Cover ON. This results in lower temperatures inside the observatory and eliminates any telescope "cool down" time when opening the observatory in the evening. The results:
Cover ON, Air Conditioner ON (clear)
Outside air temperature: 101°F
Dome temperature: 114°F
Inside air temperature: 89°F
Outside air temperature (maximum): 102°F
Inside air temperature (maximum): 89°F
Rain Protection
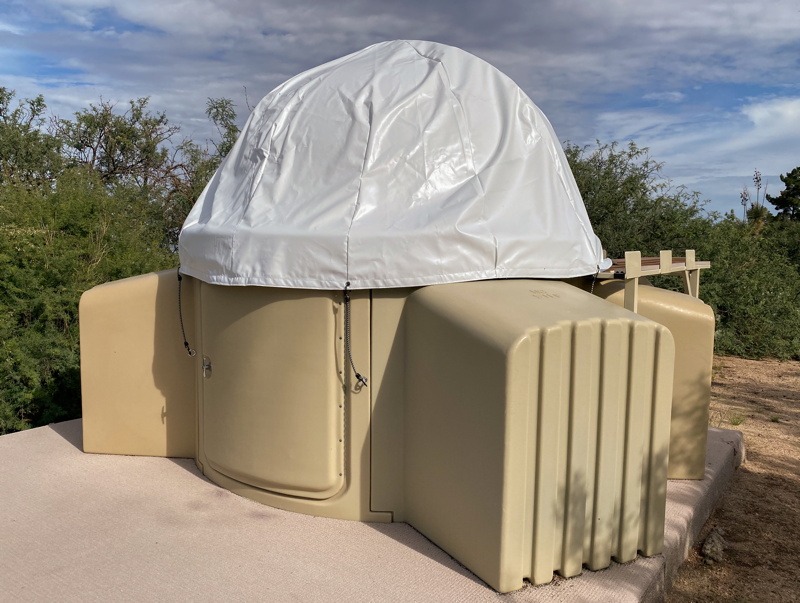
Here is Cassiopeia Observatory with its "shower cap" on before Monsoon thunderstorms brought more heavy rains.
Summary
SkyShed Observatories says that the Dome Cover is made from industrial strength vinyl and it creates a shield against water, snow, ice, dirt, pollen, etc. to keep your dome looking like new. The shape of the cover allows unrestricted air flow under the dome. The Dome Cover has a 1 Year Warranty and is rated to last 10-15 years.
In the past, I had to dry off rain water that would pool on the dome flange whenever I wanted to open the observatory immediately after a rain shower. Similarly, I had to remove accumulated snow from the dome in the winter. With the Dome Cover, I will no longer have to take the time and expend effort to do that. And dealing with deteriorating dome seals is likely a thing of the past.
Will I use the Dome Cover every time I close the observatory? No.
Will I use the Dome Cover when rain and snow are in the forecast? Yes.
Every POD owner will not need a Dome Cover, but for those that want the extra protection it provides, the Dome Cover is an excellent add-on.
Comments are welcome using Email. If you are on Twitter you can use the button below to tweet this review to your followers. Thanks.
Cassiopeia Observatory Home Page
Copyright ©2021 Michael L. Weasner / mweasner@me.com
URL = http://www.weasner.com/co/Reviews/2021/POD_cover/index.html
